Automotive

A major task of the business field "automotive" is to support car manufacturers as well as supplier industry in testing new materials and products fast and reliably by means of nondestructive methods. Early inclusion of NDT design into the development process provides high potential of cost efficiency at  concurrently enhanced product quality by adequate inspection scheduling. Thematic work is concerned, amongst others, with the inspection and process control of hardness and mechanical-technological properties, defect inspection of ultra-high-strength steels or NDT for bonding technologies of metals and platics as well as hybride materials.

Also, in later phases of the product life cycle or in case of damage and subsequent repairing solutions for testing and assessing assemblies and structures are highly needed, especially in case of new materials.

The diversity of materials used in automotive industry steadily rises. However, specific material properties can only be exploited in an optimal way if eligible joint technologies are on hand, e.g. glueing methods, thermal methods such as friction stir welding, laser welding and laser soldering, or mechanical procedures such as hemming and clinching. Covering all these methods Fraunhofer IZFP has long-term experience in developing inspection technologies for reliable, nondestructive joint quality assurance.


Contact

automotive[at]izfp.fraunhofer.de

Ultrasound Sensors: Custom-made

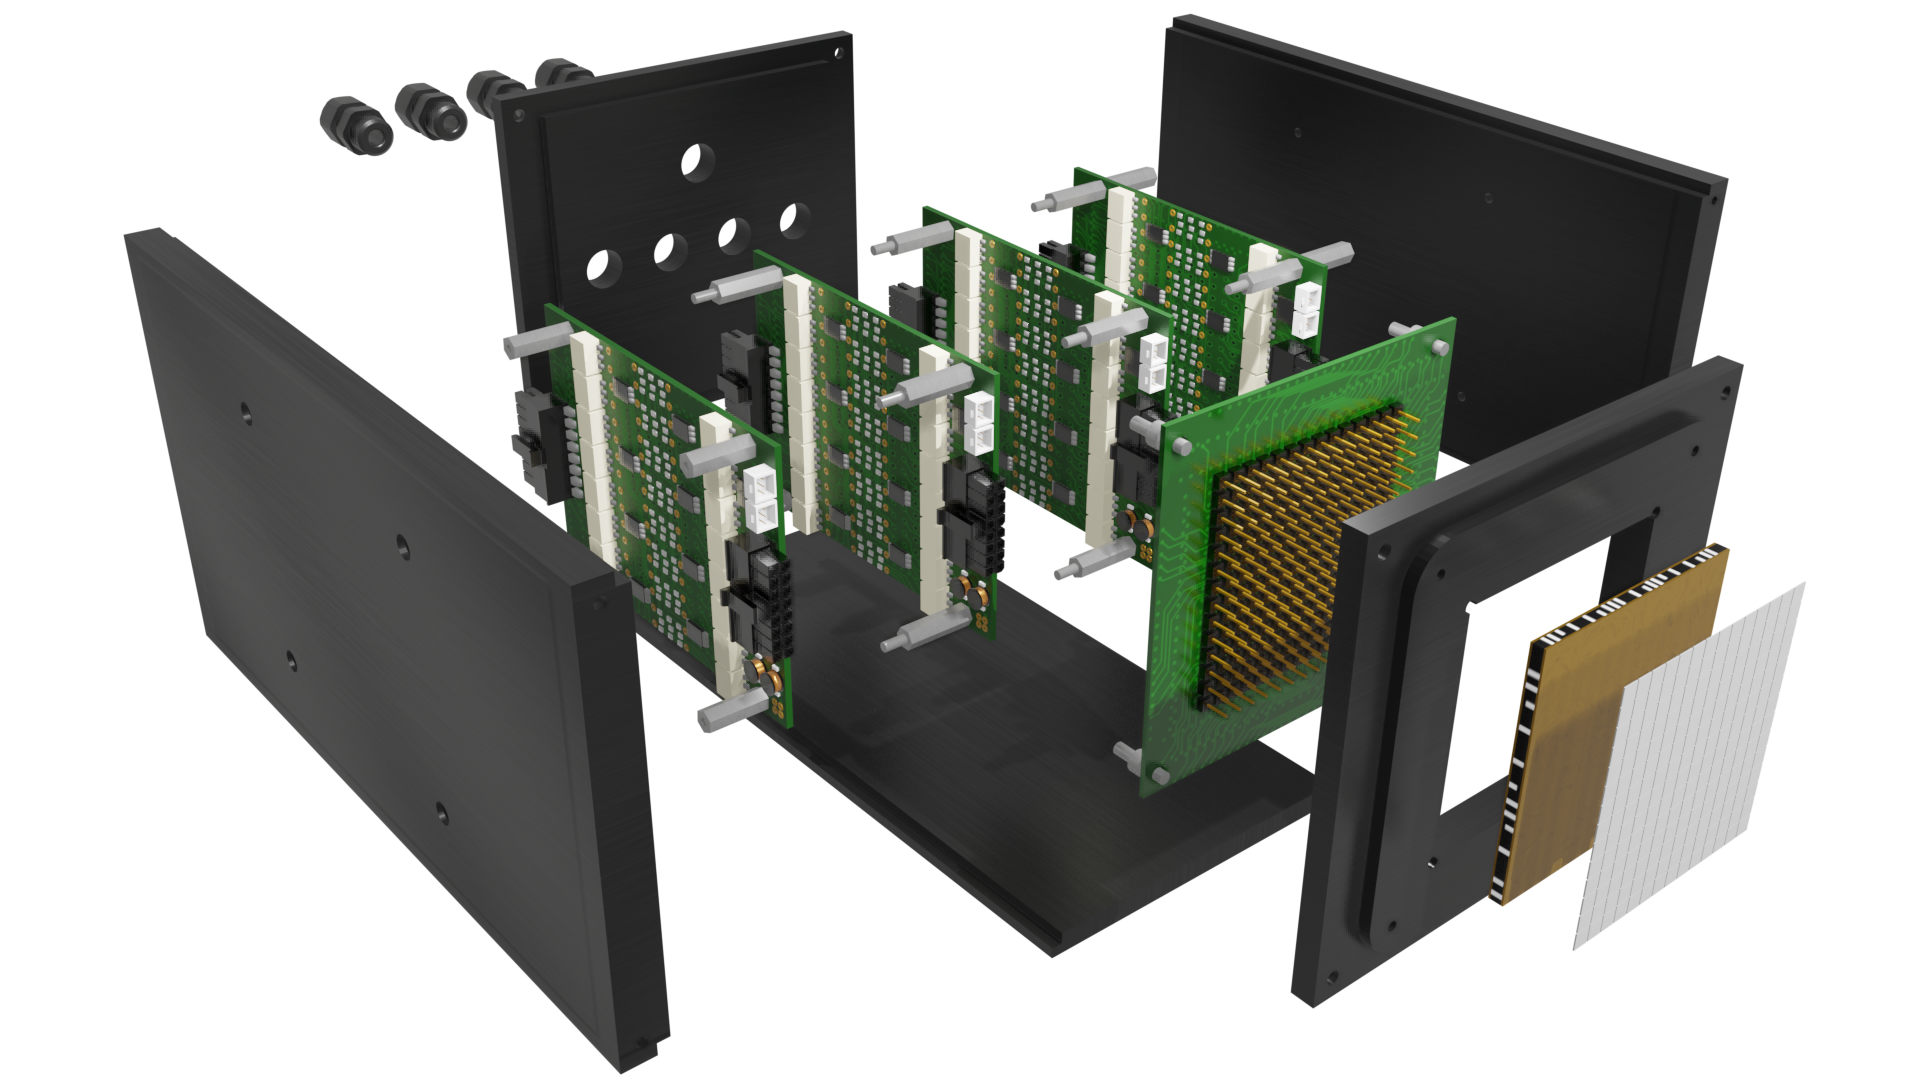
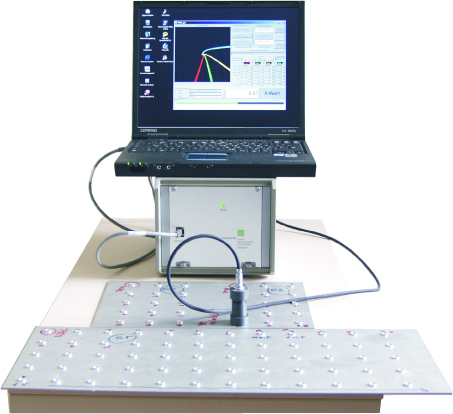
Air-coupled ultrasound array sensor
© Fraunhofer IZFP
Air-coupled ultrasound array sensor

The Fraunhofer IZFP in Saarbrücken develops and manufactures ultrasound sensors for diverse applications. The Institute has developed, among others, ultrasound sensors for the Rosetta mission, which launched on 2 March 2004 and landed on the cometary surface in November 2014.

Typically, however, we develop ultrasound sensors for material and component testing, as well as for condition monitoring over the entire product lifecycle from raw material to recycling.

Flyer

AcoustiX: Acoustic sensor system for final assembly inspection or operation monitoring by means of cognitive signal analysis

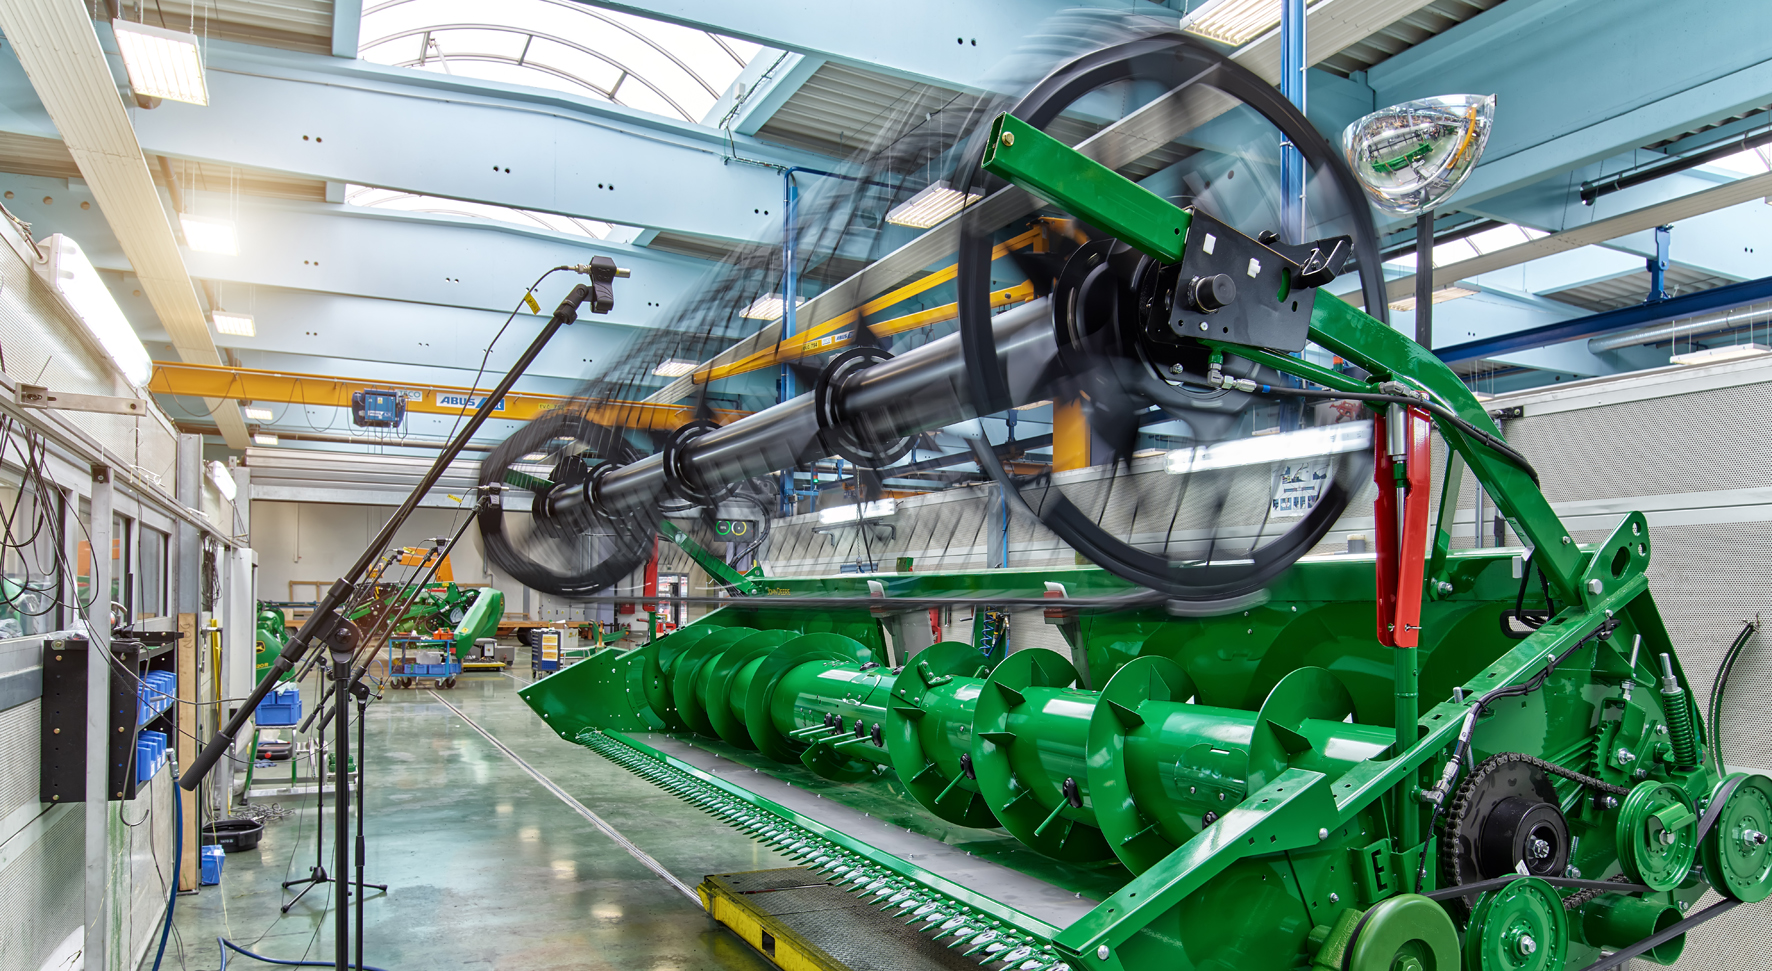
AcoustiX – acoustic sensor system, here on a combine cutter bar
© Fraunhofer IZFP / Uwe Bellhäuser
AcoustiX – acoustic sensor system, here on a combine cutter bar

During operation, machines or systems generate characteristic vibrations, and thus, noises. These provide information on quality, as assembly errors or other defects often cause a change in these operating noises.

In contrast, acoustic testing systems available on the market allow objective detection of products having unusual vibrations or noises. Such systems do, however, have to often be carefully and explicitly calibrated using representative parts. In addition, the acoustic and vibratory behavior is generally limited to few acoustical parameters such as frequencies or amplitudes. Even minor design adjustments will require recalibration to prevent a negative impact on testing reliability.

For solving these problems, Fraunhofer IZFP has developed “AcoustiX“, an acoustic sensor system with cognitive signal analysis.

Flyer
To the press release

Sensor System to Detect Cracks and Neckings in Formed Sheets

Tailored Blanks inspection with Fraunhofer IZFP´s EMAT sensor
© Fraunhofer IZFP
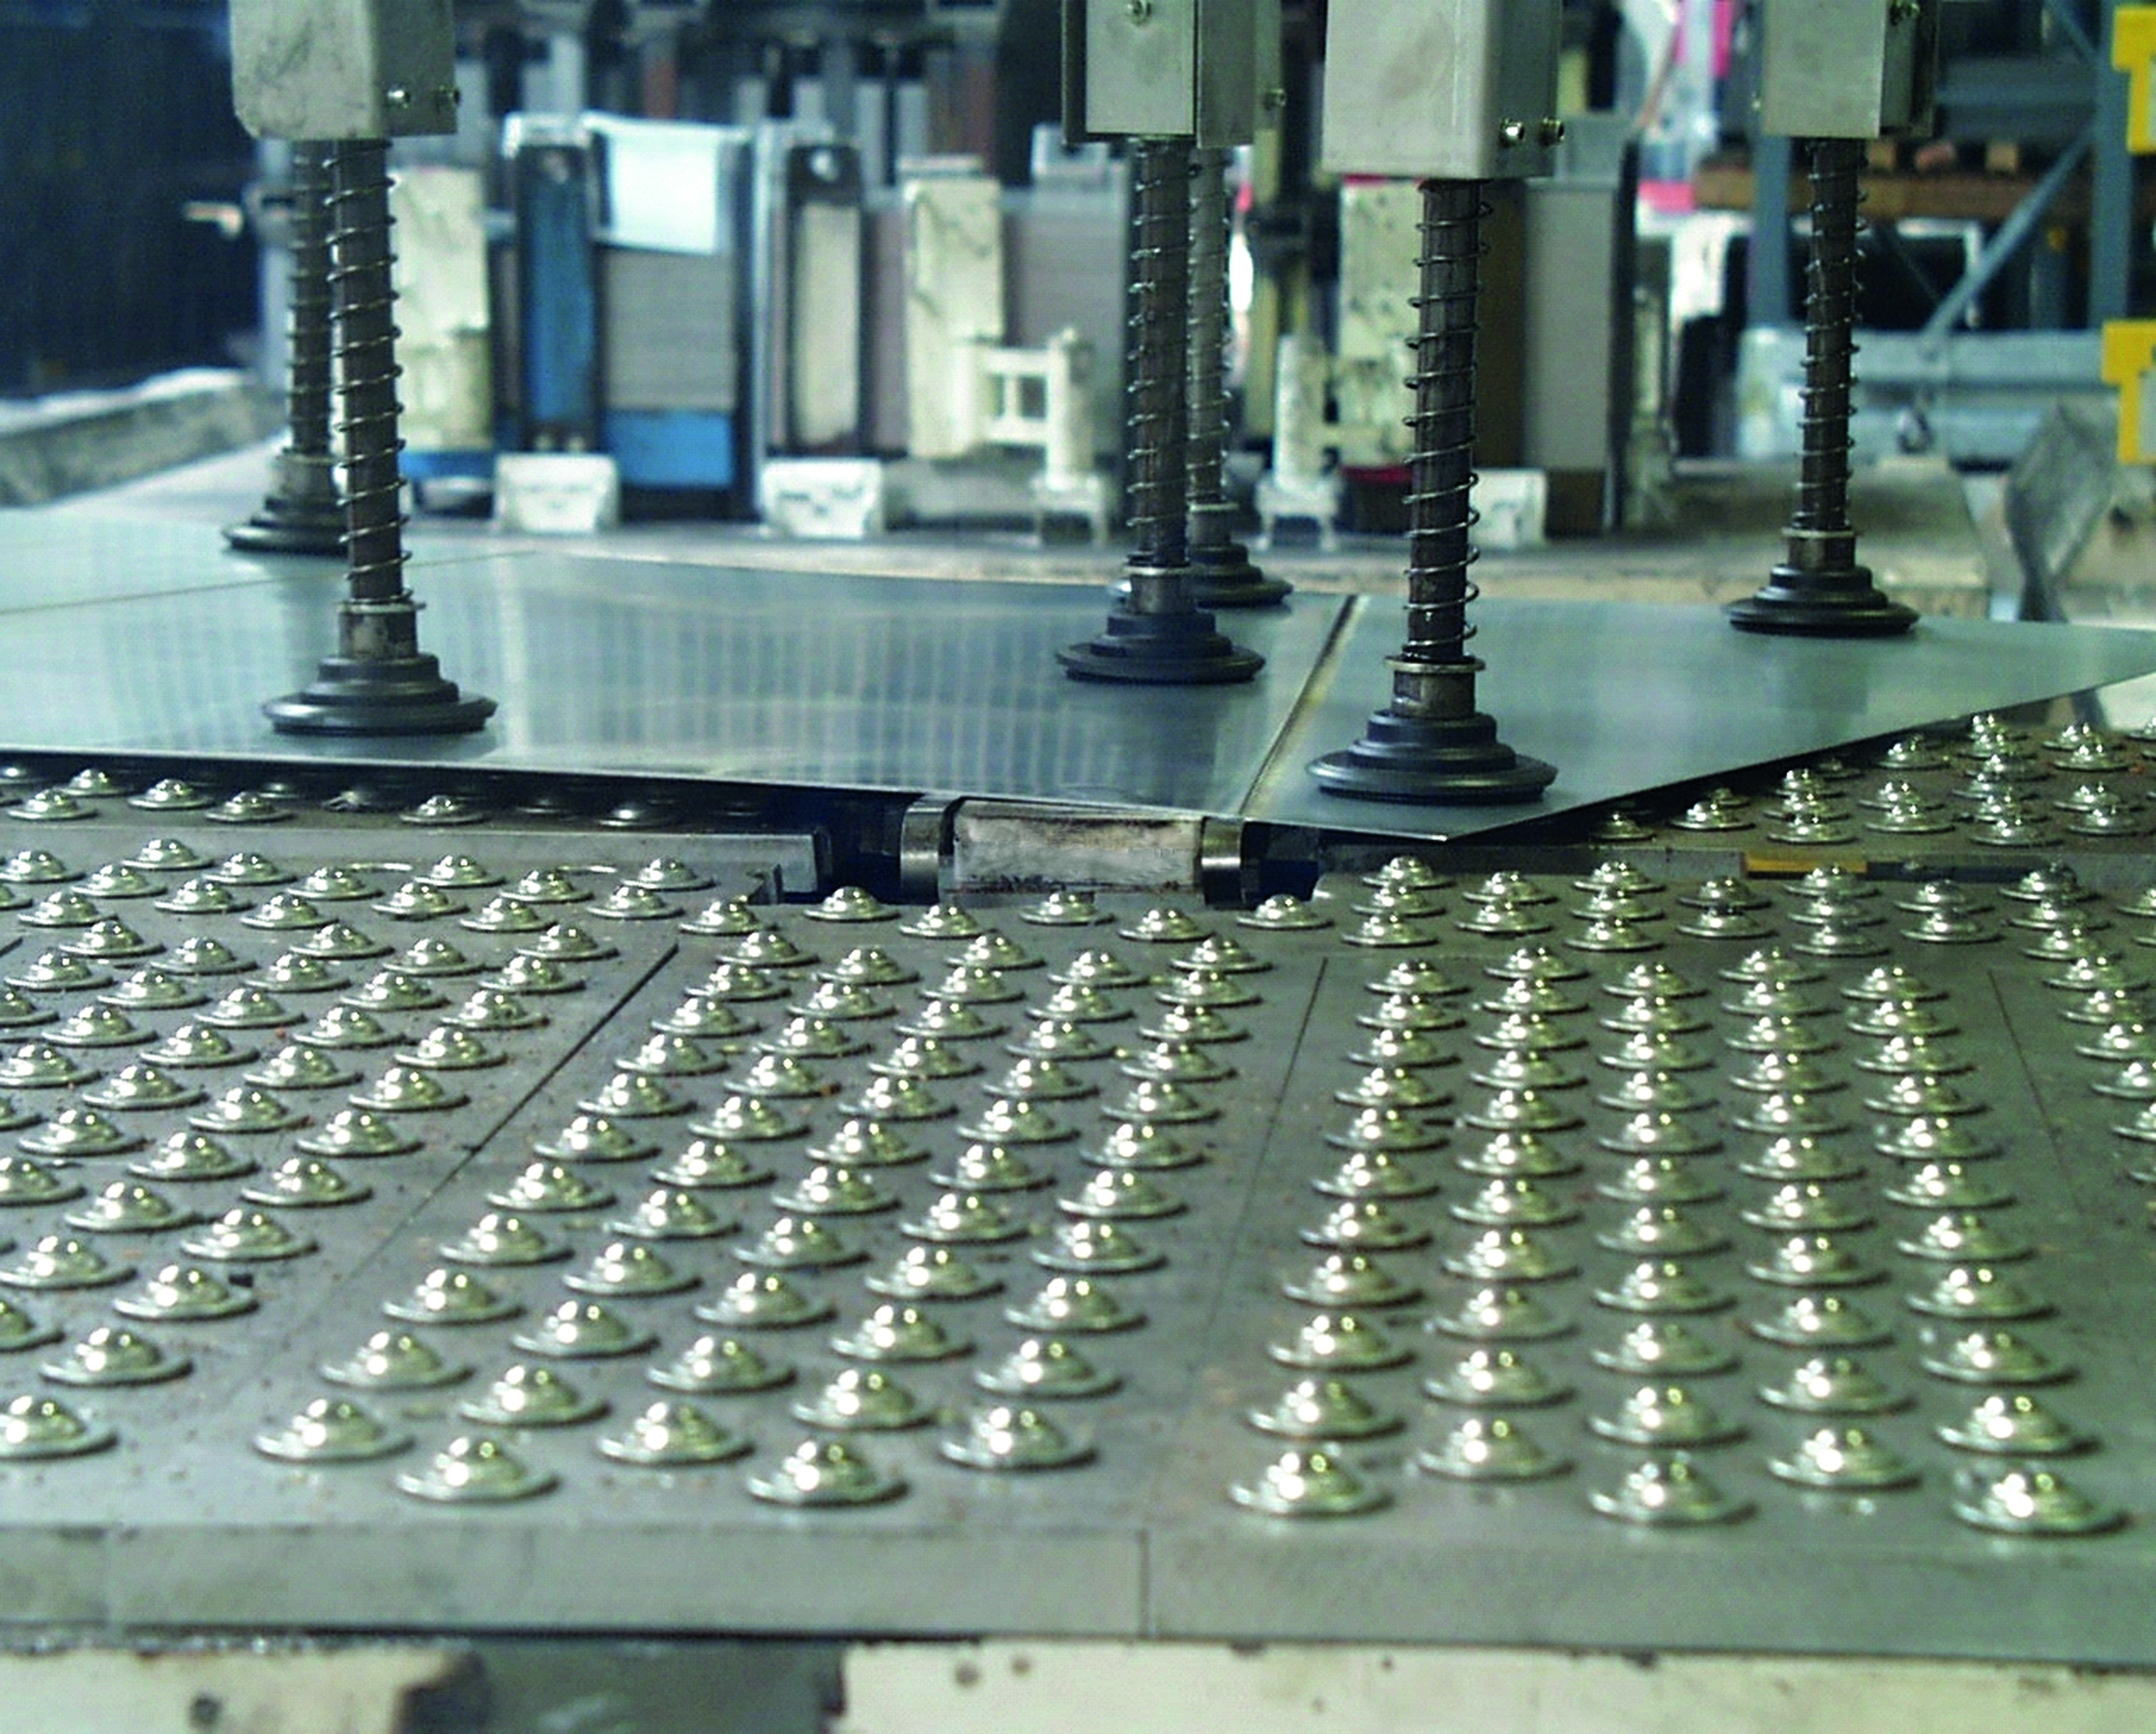
Tailored Blanks inspection with Fraunhofer IZFP´s EMAT sensor

Requirements on components and processes in the sheet metal forming sector are steadily rising. This applies in particular to the automotive industry as the largest manufacturer and buyer of formed sheet metal parts. Due to lightweight construction concepts, many forming processes are increasingly being pushed to their limits. Because of growing processing complexity, high forming degrees with ever smaller sheet thicknesses, batch fluctuations of the materials as well as uncertainties in the tool / machine system, it is unavoidable that these process limits are sporadically exceeded.


As a consequence of such influencing factors, forming-related component defects that are difficult to identify cannot be avoided completely. This includes cracked areas (cracks) in the sheet, but also local thinnings of the sheet thickness (neckings). While gaping cracks above a certain size can be reliably detected with optical methods, so far there was no method for the reliable detection of closed or small cracks and in particular of neckings.

A comparative study showed that the so-called EMAT inspection technique (electromagnetic acoustic transducer) is the most appropriate method for the production-integrated detection of cracks and neckings in sheet metal components. Ultrasonic probes based on EMAT can be used dry, i.e. without coupling agents and generally without contact.

Read more

Air-Coupled Ultrasound Inspection: Contactless and Contamination-Free Materials Characterization

© Fraunhofer IZFP
Air-coupled ultrasound inspection of advanced materials

The structural components used in modern automobiles and aircraft manufacturing are subject to stringent requirements, such as having a lightweight, yet mechanically robust design. Among other things, this ensures structures with improved crash behavior and excellent vibration and sound damping properties. Adhering to such demanding specifications requires the use of innovative materials like carbon or glass fiber reinforced polymer, high-strength steel and lightweight metals, which are often combined into hybrid components.

Read more

High-Frequency Ultrasonic Technology: Optimizing the Quality of Laser Welding Seams (Presshardened Steels)

© Fraunhofer IZFP

Integration of the HF-ultrasonic inspection technology for a fast, efficient monitoring, documentation and optimization of the laser welding quality

Validation for determining all of the relevant quality characteristics (welding seam profile, existence and position of defects, etc.)

Detection of typical defects such as “false friends“, “seam collapse“ and “blow out“ as well as pores with a minimum diameter of approx. 0.2 millimeters

Read more

Clinching: Offline and Online Measurement of the Wall Thickness in Clinched Joints

© Fraunhofer IZFP
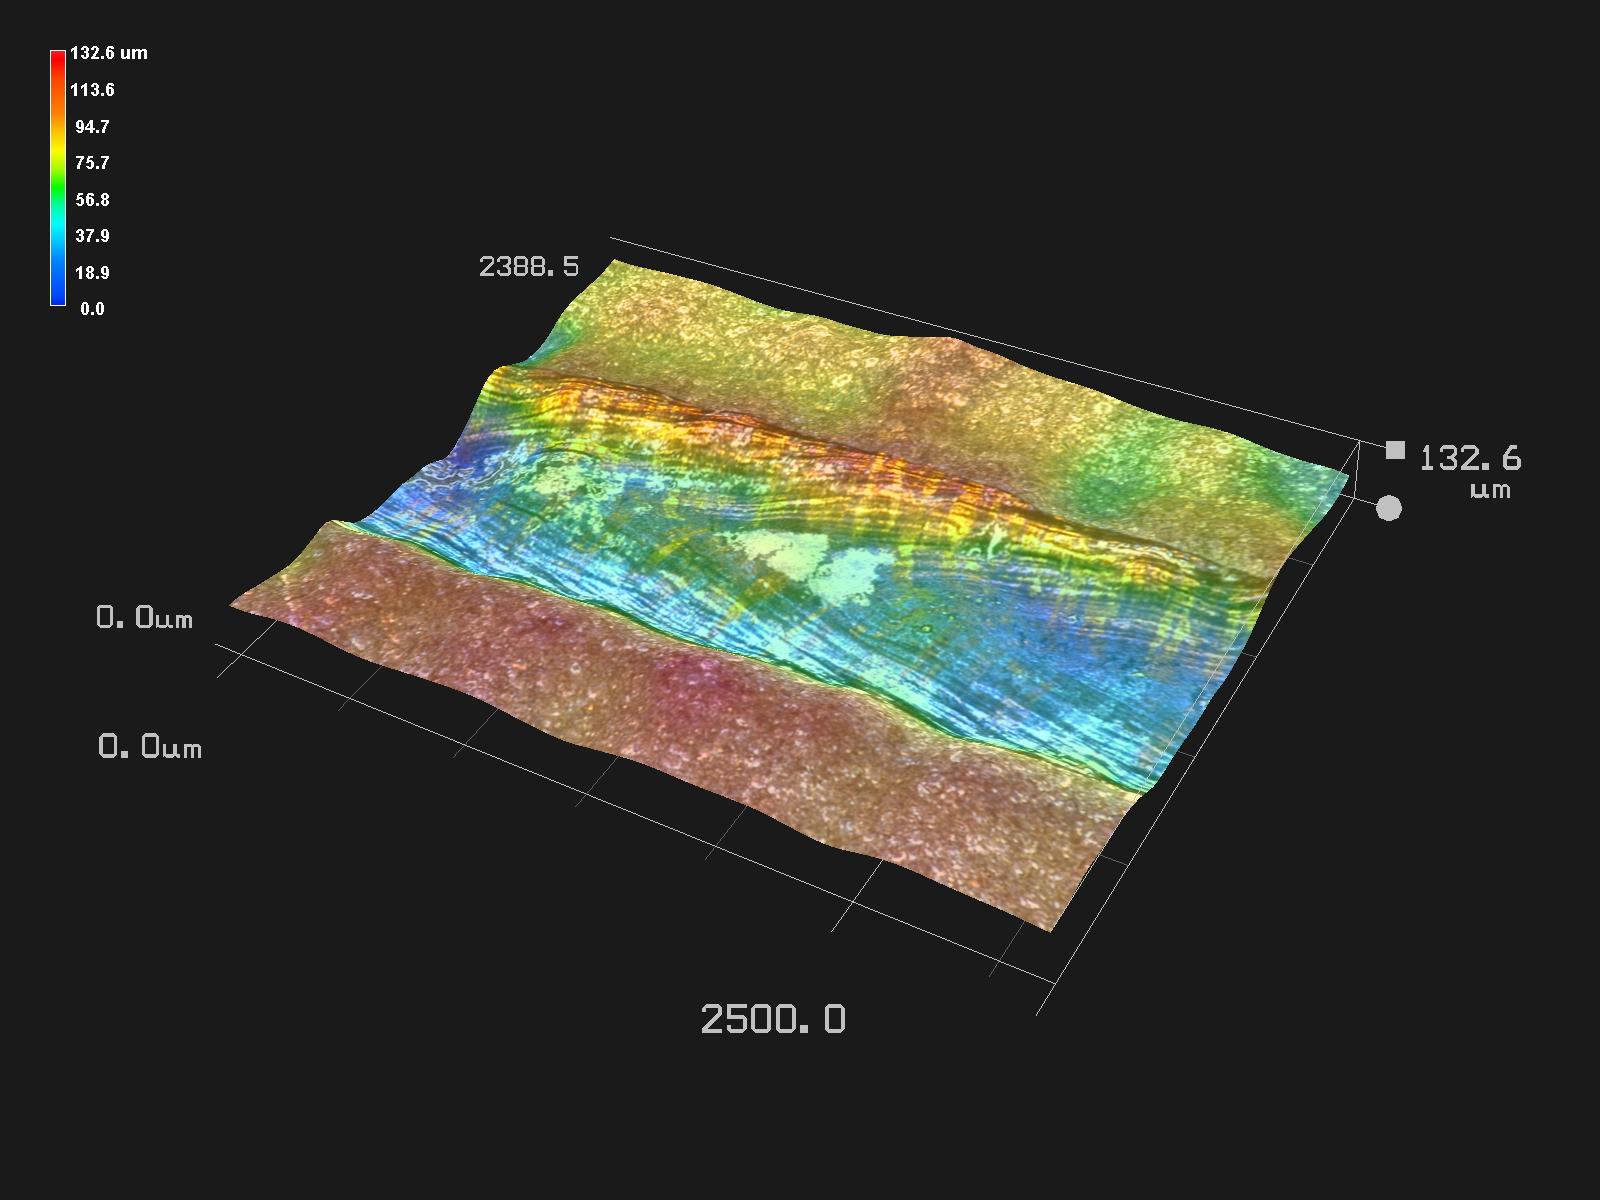
Prototype system for offline determination of base thickness in clinched joints

For a fast quality monitoring of clinched joints, the eddy current method was refined

Combination of several eddy current frequencies

Disturbances such as sensor lifting from the surface or changes in conductivity and permeability can be distinguished from the objective criterion “base thickness“

Calibration needed

Read more

Surface Hardening Depth (SHD): Nondestructive Inspection of Inductively Hardened Parts and Components Using Ultrasonic Backscattering

© Fraunhofer IZFP
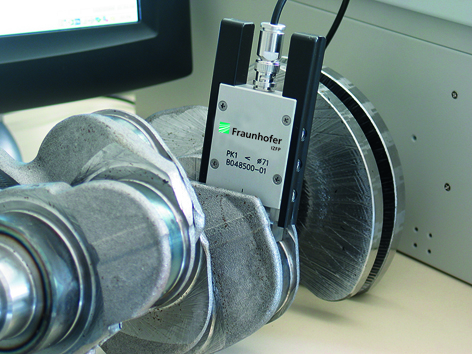
Crank shaft inspection using SHD sensor

Long-term experience with customized ultrasonic hardware and software

Fraunhofer IZFP designs and manufactures optimized ultrasonic electronics

Systems for automated and manual testing are available

No calibration of reference parts with defined hardness

Impartial, user-independent measurement technique

Read more

3MA-Based Valve Spring Scanner: Nondestructive Evaluation of Hardness and Residual Stress Depth Profiles

© Fraunhofer IZFP / Uwe Bellhäuser
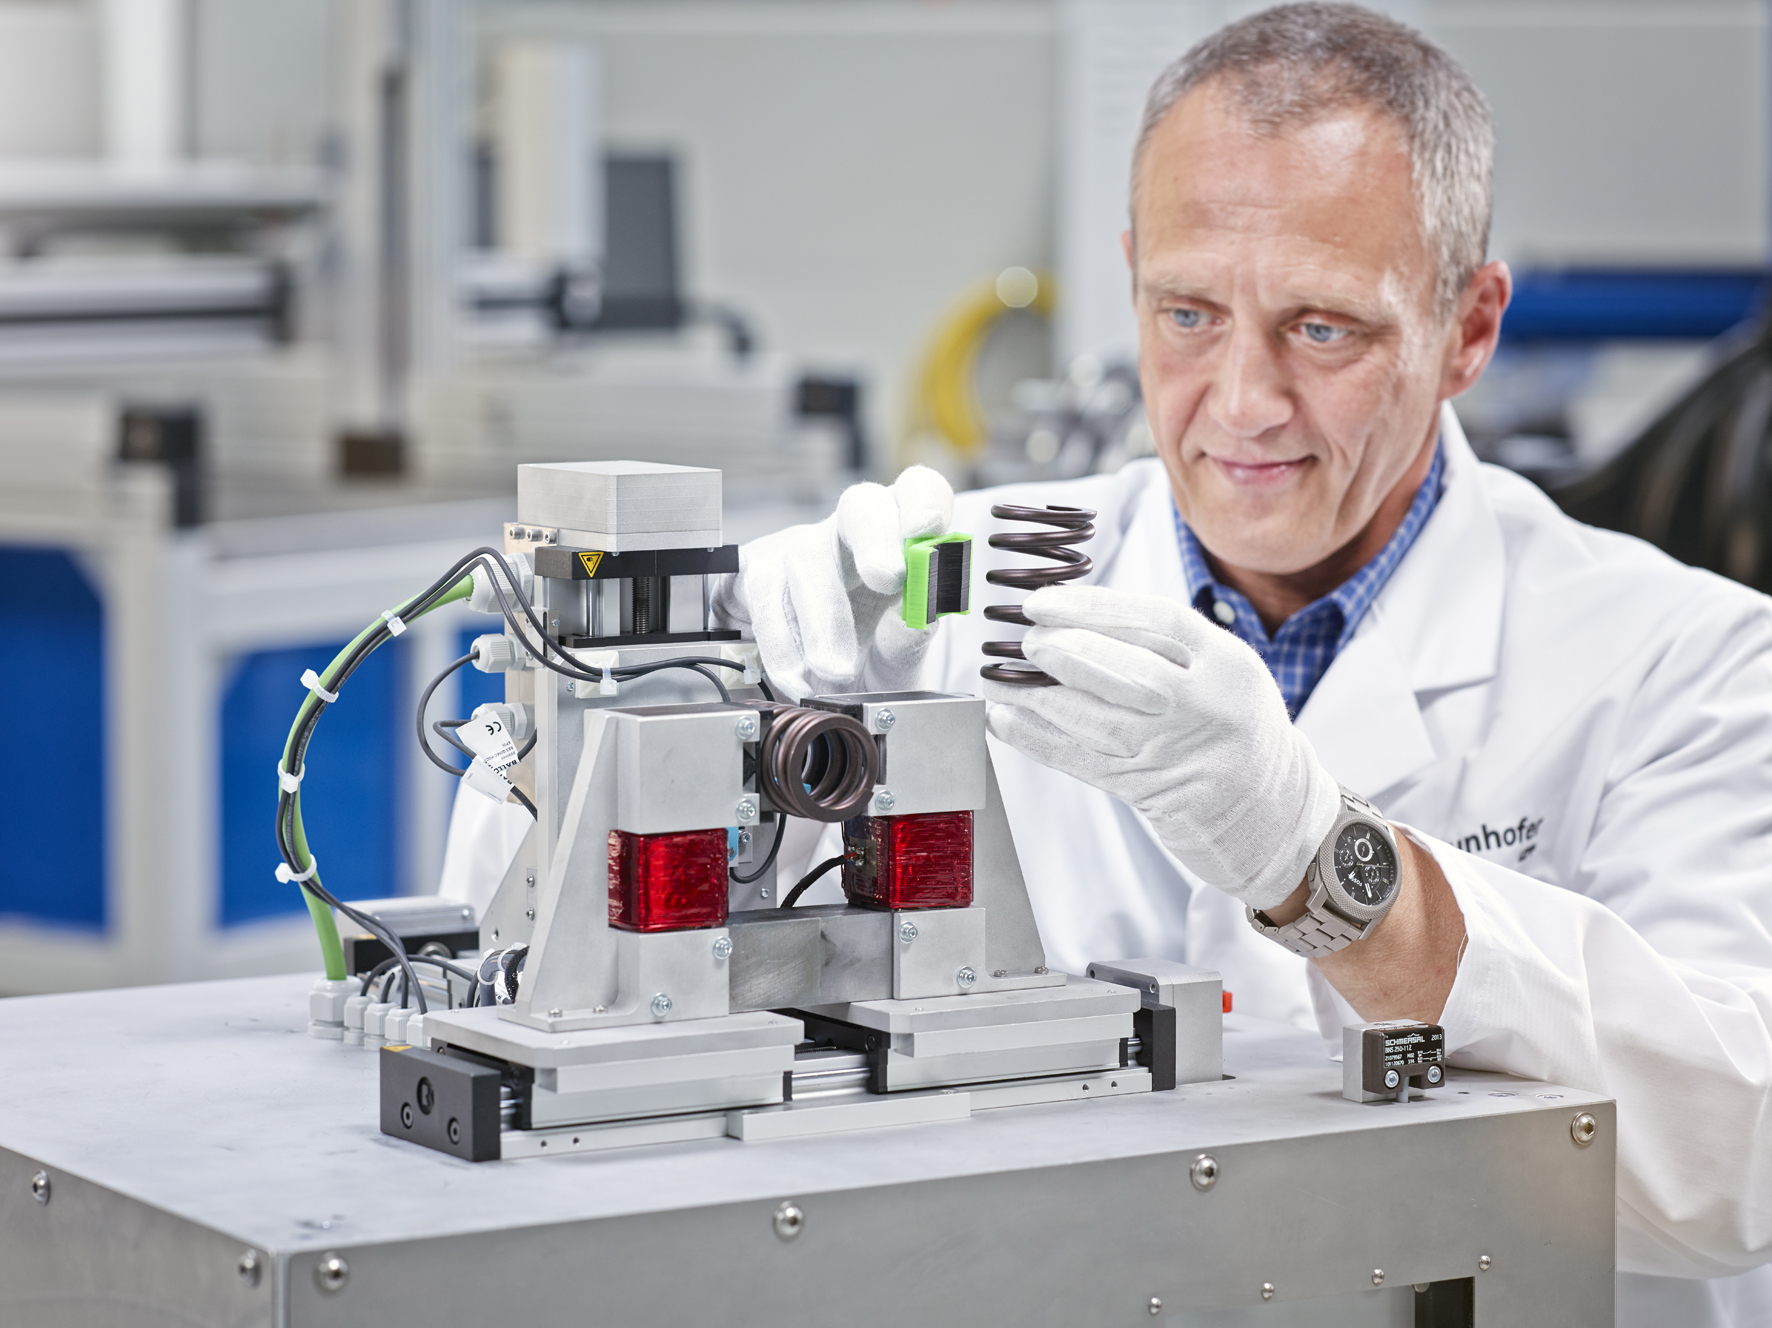
Valve Spring Scanner

Concurrent determination of various relevant quality characteristics of a material (e.g. hardness, residual stresses in different measuring depths)

No destruction of the specimen

Integration in fully automated testing systems

Calibration needed

Read more

EMUS: Defect Inspection using Electromagnetic Ultrasound Technology

© Fraunhofer IZFP
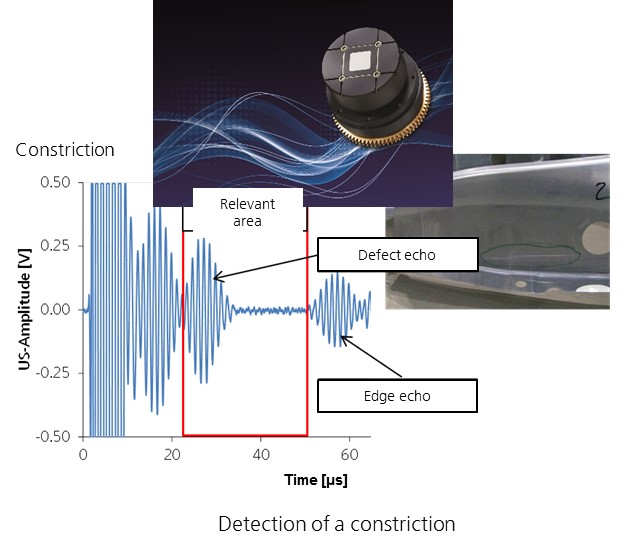
Detection of a constriction

Contactless ultrasound inspection without couplants

Real-time capable; can be automated for in-line inspections.

Industrial-scale, robust design leads to long service life without visible wear and tear

Cold and warm sheet metal forming (i.e. auto body parts)

Induction Thermography: Automated Robot-Assisted Inspection of Ferromagnetic Components for Surface Cracks

© Fraunhofer IZFP

Surface crack testing without surface treatment

Suitable for components with complex geometry

Objective and reliable testing results

Determination of the defect size (crack length and crack depth)

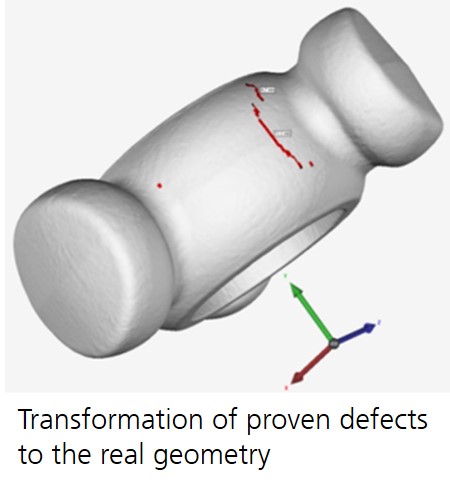
Transformation of the inspection results (proven defects)  to the real geometry

Quantitative defect size determination

Suitable for fully automated testing facilities with 100% quality inspection of components in the production line