Ultrasound

Ultrasonic inspection with its various techniques has long been a central procedure of nondestructive testing and thus an essential element of many quality assurance measures. In most if not all sections of the product lifecycle - but particularly for ​​production processes - it provides established methods with versatile possibilities to guarantee the safety of the manufactured products.

By the rise of novel materials such as fiber-reinforced plastics, high-strength steels and light metals, which are used alone or in combination in hybrid components and as composite materials, the requirements for ultrasound inspection have significantly increased over the last decade. These material-related challenges are intensified by increasingly complex component geometries, the need for high-resolution defect detection or the realization of faster inspection speed. All this can be taken into account with the methods provided at Fraunhofer IZFP. The areas of material characterization, component / assembly inspection and condition monitoring are the focus of our attention.

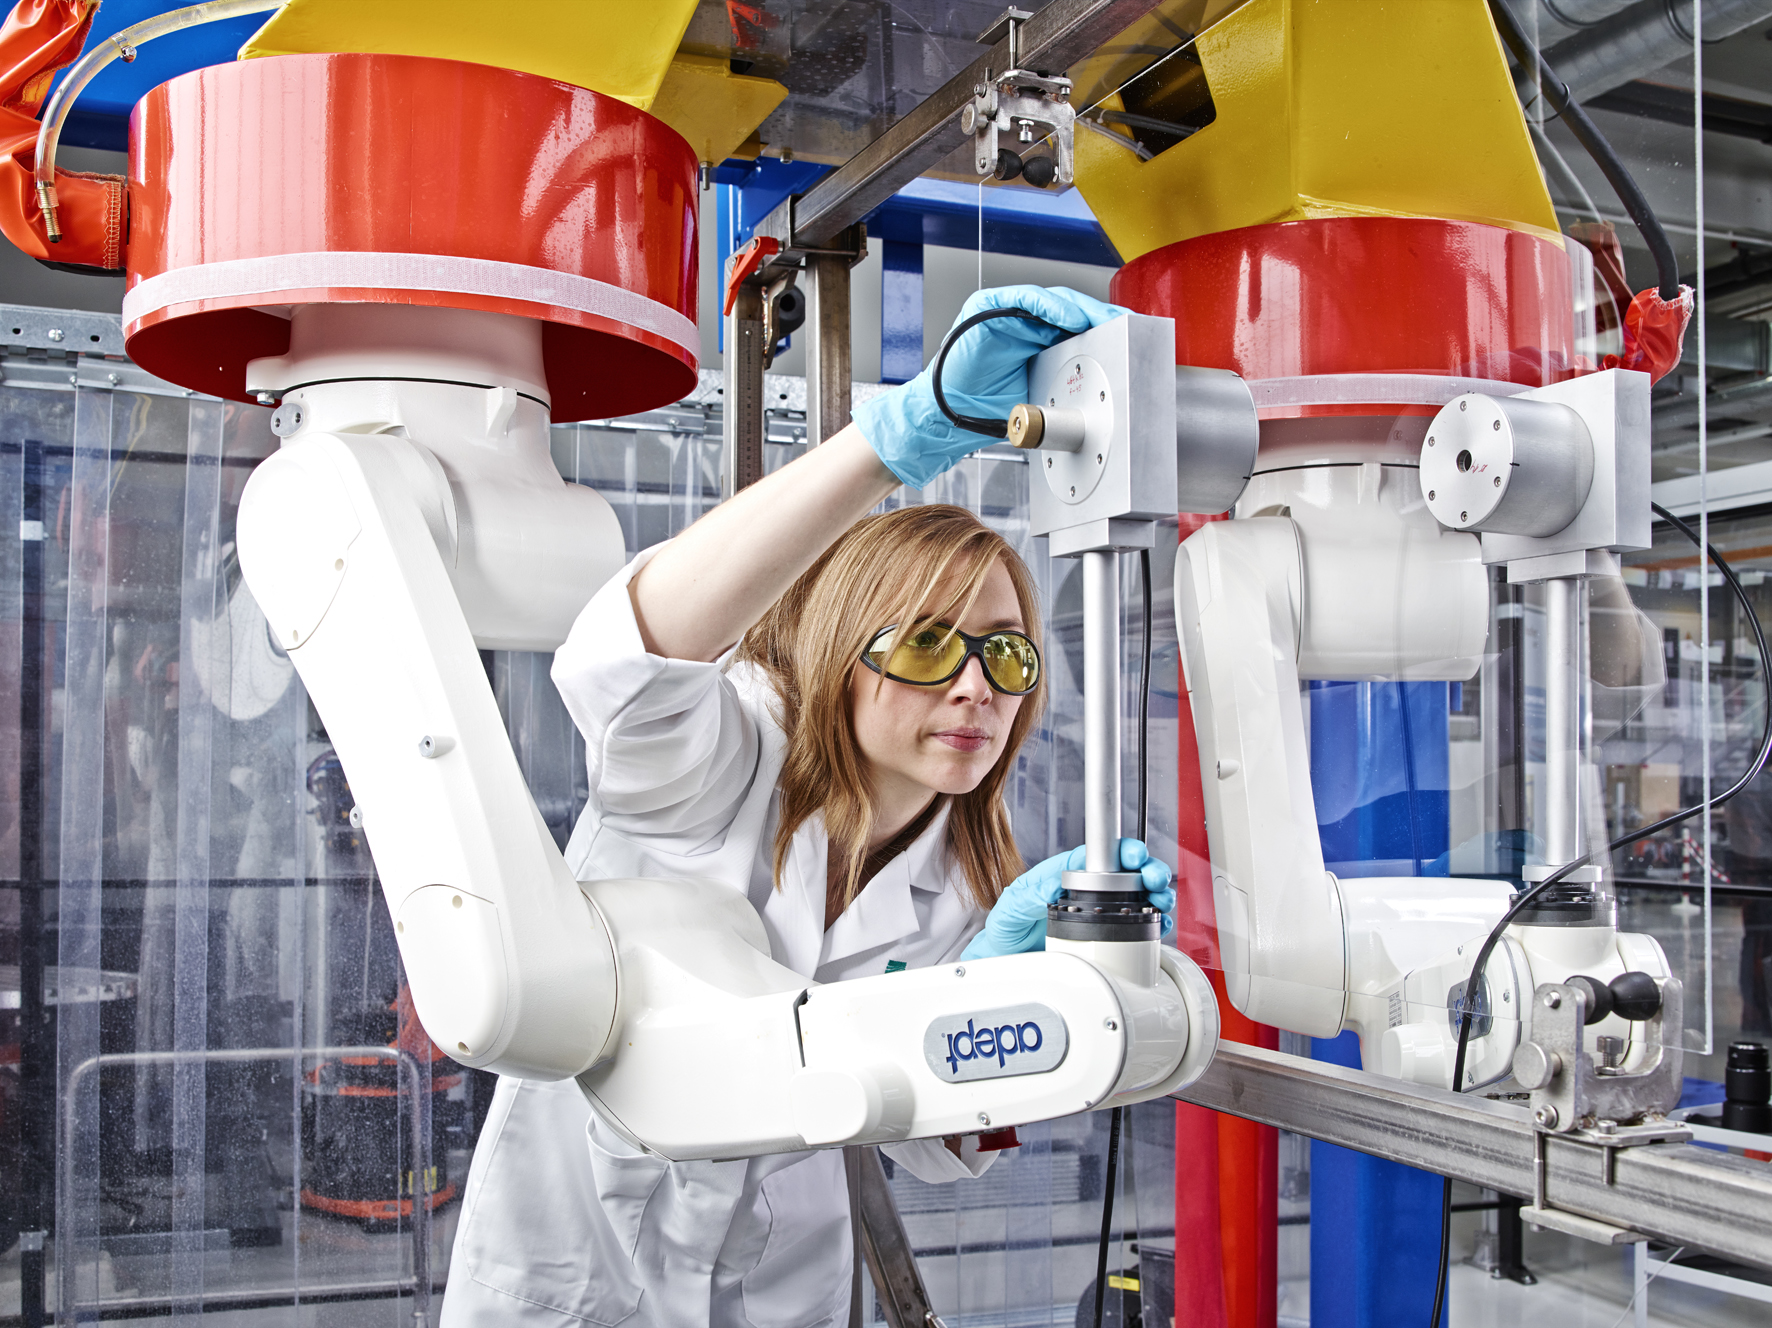
The institute has a wide range of application-oriented techniques, competences and know-how at its disposal. This comprises, among other things, the construction of specially adapted ultrasound transducers and inspection systems including hardware and software development as well as the execution of qualifying manual and robot-based ultrasound tests to meet customer-specific requirements.

In addition, Fraunhofer IZFP counsels its customers in the preparation of specific inspection instructions and supports the execution and the evaluation of inspections.

Ultrasound Sensors: Custom-made

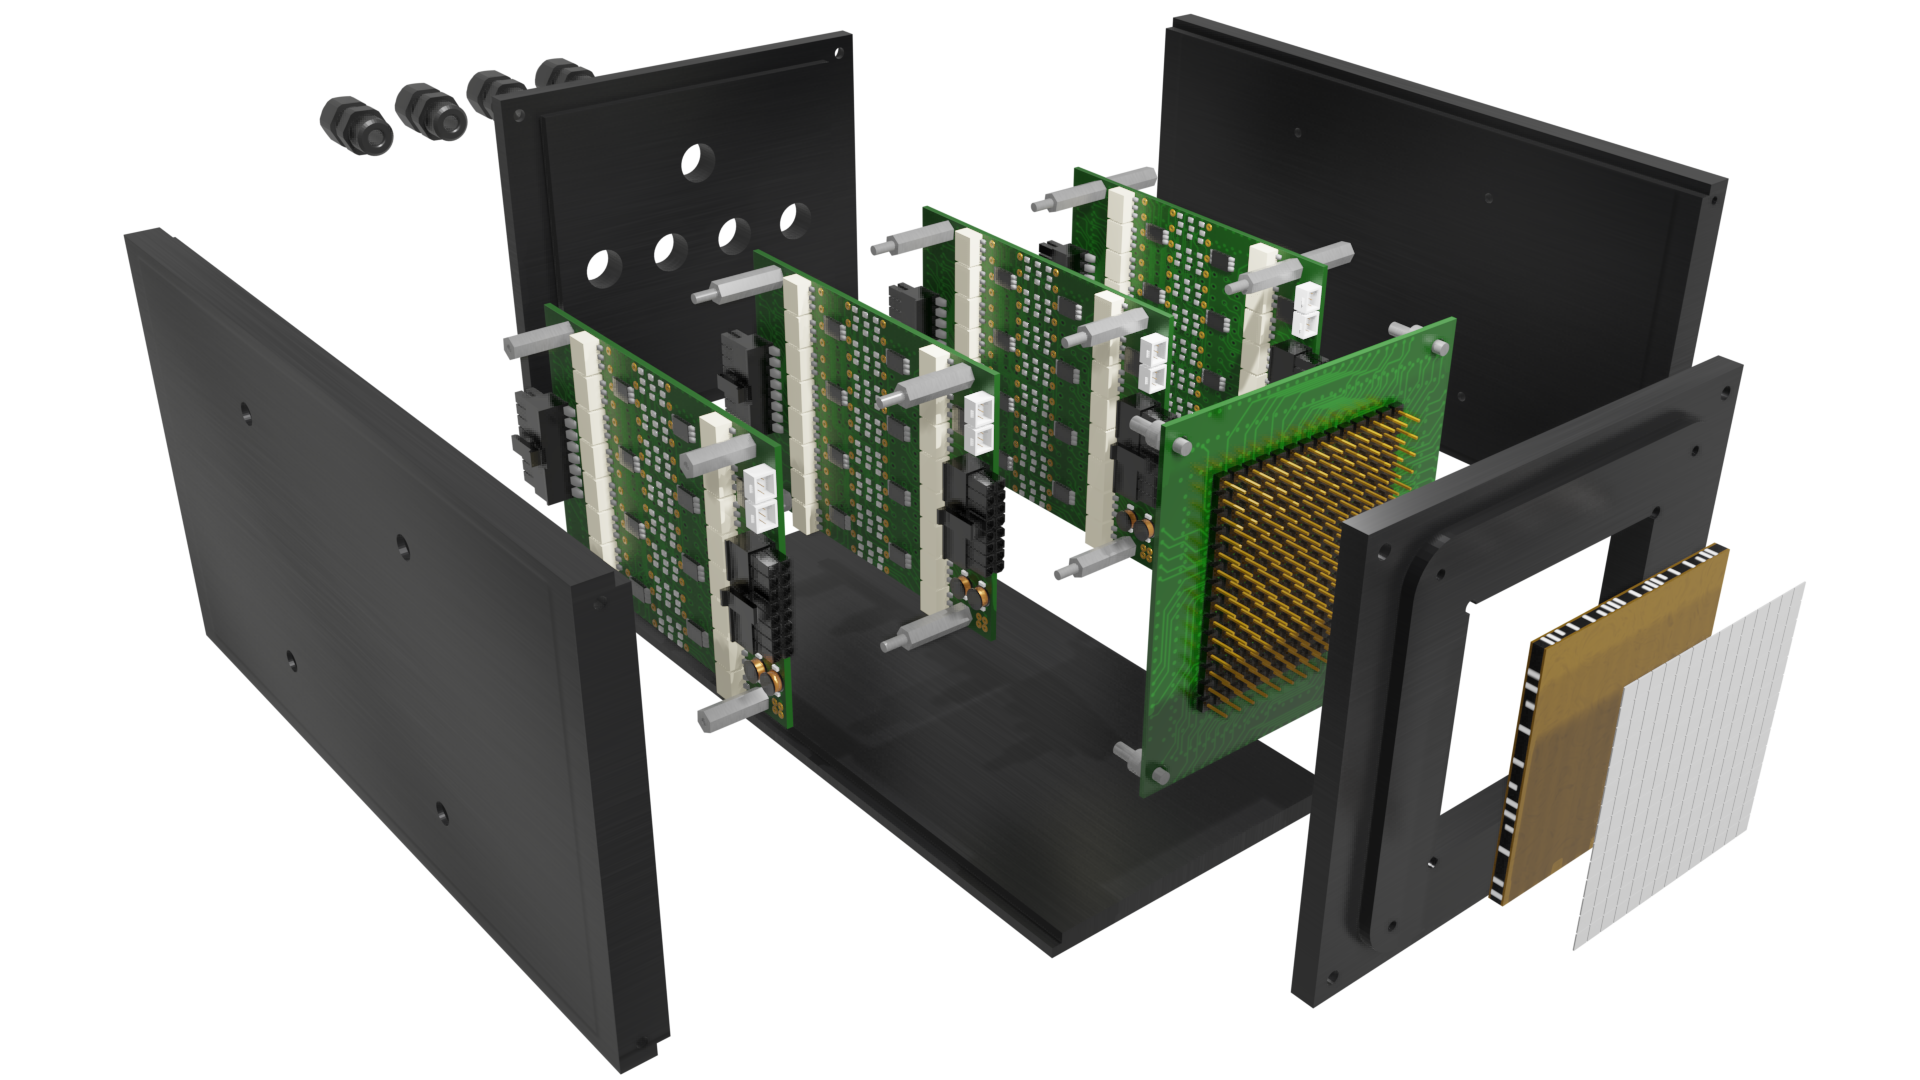
Air-coupled ultrasound array sensor
© Fraunhofer IZFP
Air-coupled ultrasound array sensor

The Fraunhofer IZFP in Saarbrücken develops and manufactures ultrasound sensors for diverse applications. The Institute has developed, among others, ultrasound sensors for the Rosetta mission, which launched on 2 March 2004 and landed on the cometary surface in November 2014.

Typically, however, we develop ultrasound sensors for material and component testing, as well as for condition monitoring over the entire product lifecycle from raw material to recycling.

Flyer

AcoustiX: Acoustic sensor system for final assembly inspection or operation monitoring by means of cognitive signal analysis

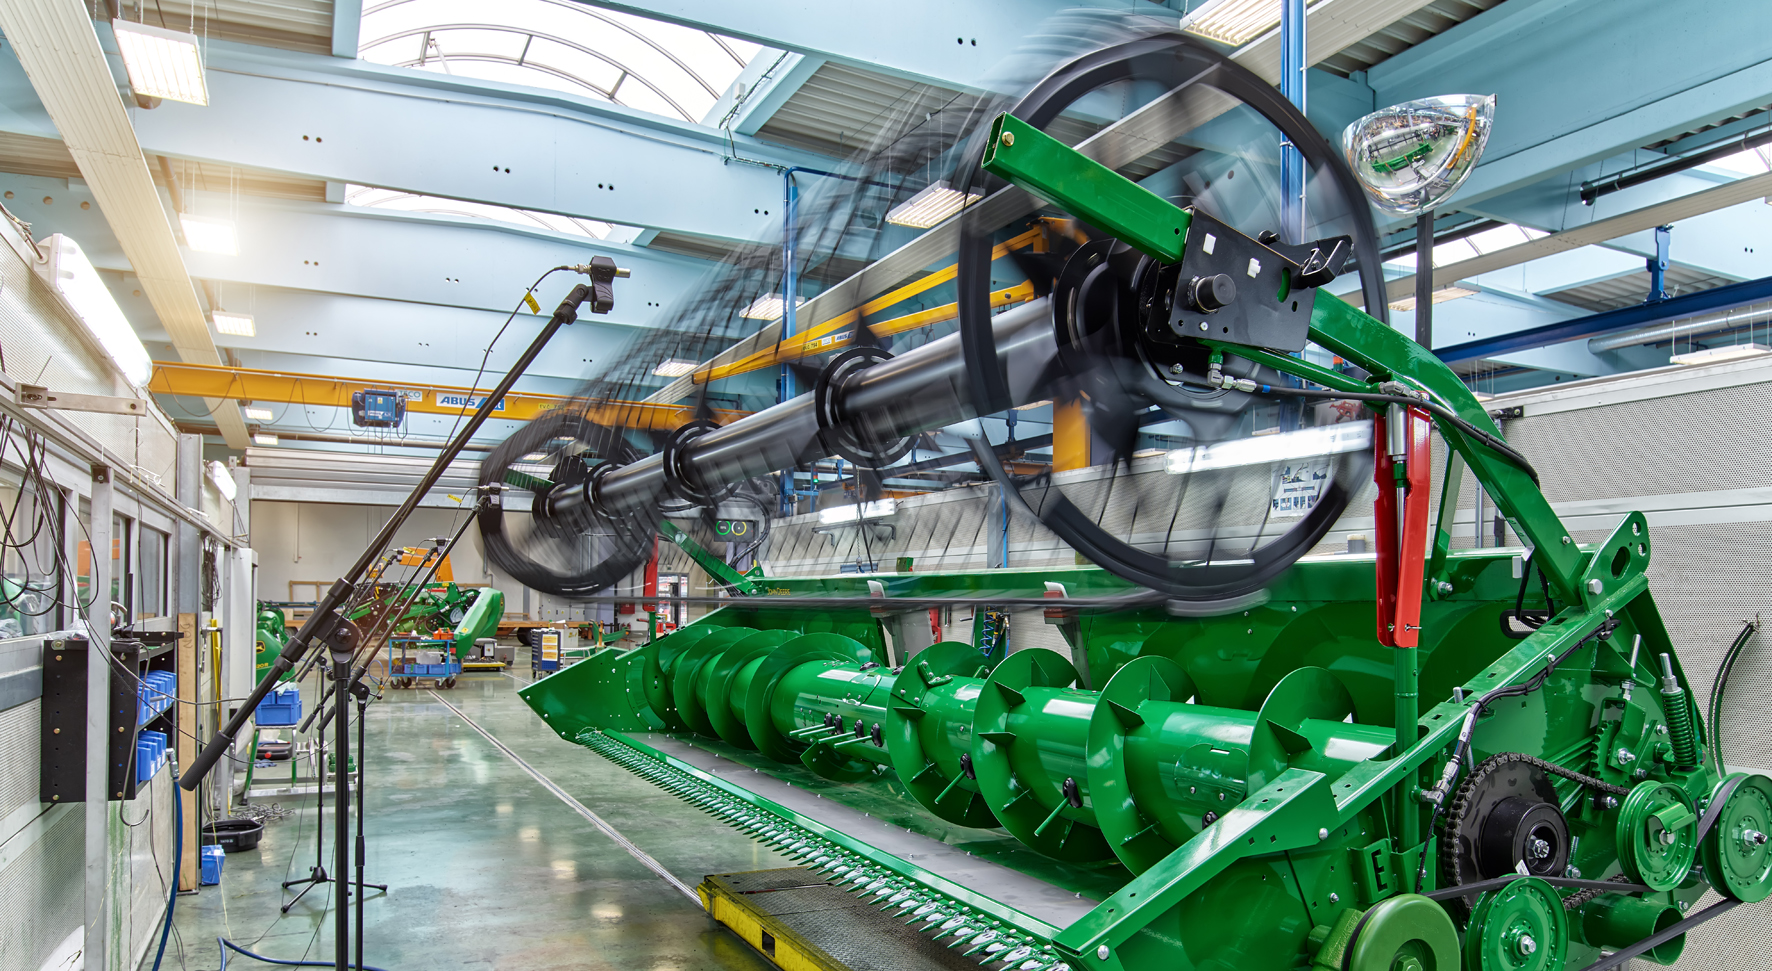
AcoustiX – acoustic sensor system, here on a combine cutter bar
© Fraunhofer IZFP / Uwe Bellhäuser
AcoustiX – acoustic sensor system, here on a combine cutter bar

During operation, machines or systems generate characteristic vibrations, and thus, noises. These provide information on quality, as assembly errors or other defects often cause a change in these operating noises.

In contrast, acoustic testing systems available on the market allow objective detection of products having unusual vibrations or noises. Such systems do, however, have to often be carefully and explicitly calibrated using representative parts. In addition, the acoustic and vibratory behavior is generally limited to few acoustical parameters such as frequencies or amplitudes. Even minor design adjustments will require recalibration to prevent a negative impact on testing reliability.

For solving these problems, Fraunhofer IZFP has developed “AcoustiX“, an acoustic sensor system with cognitive signal analysis.

Flyer

3D SmartInspect: Intelligent Inspection Monitoring and Documentation by Optical Tracking System for Ultrasound and Eddy Current Inspection

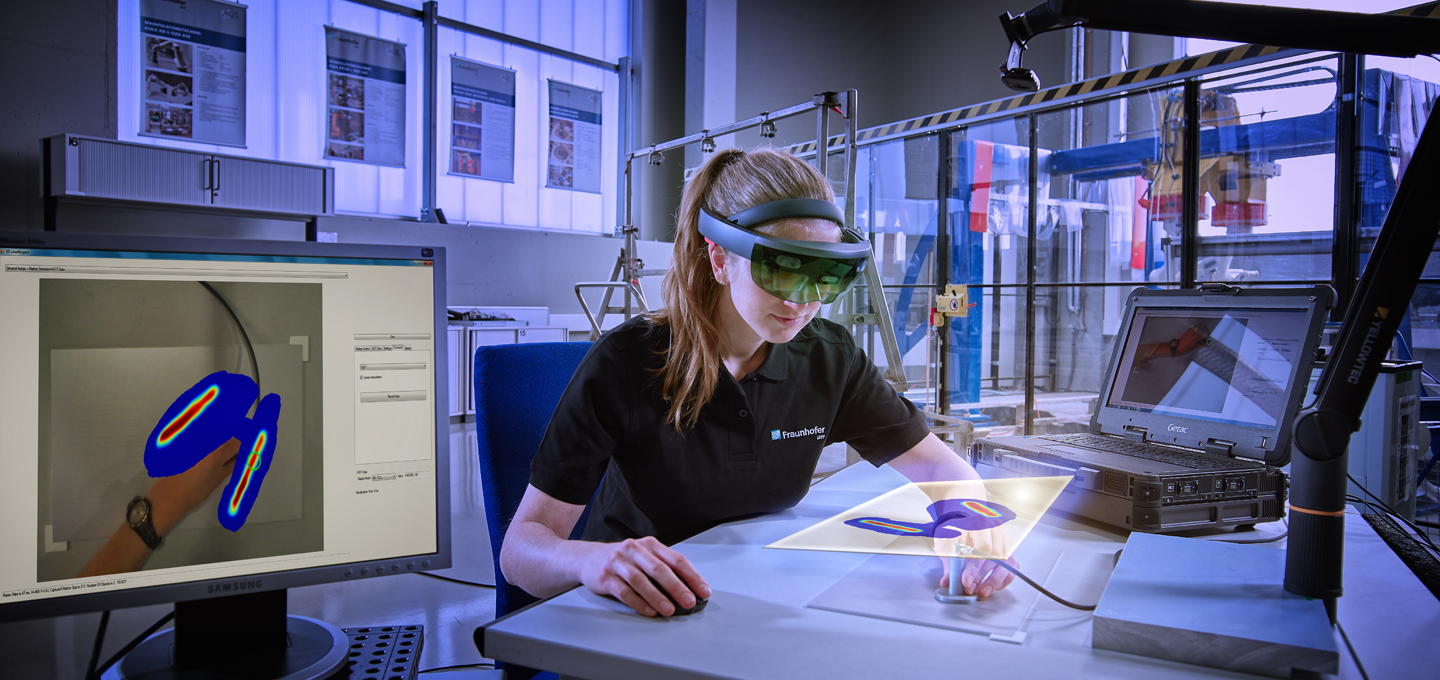
3D SmartInspect – a Fraunhofer IZFP tool for the digital NDT world: Augmented Reality System as a support for the manual inspection of components or large surfaces
© Fraunhofer IZFP / Uwe Bellhäuser
3D SmartInspect – a Fraunhofer IZFP tool for the digital NDT world: Augmented Reality System as a support for the manual inspection of components or large surfaces

In the case of the widely used manual inspection, the quality of the inspection depends strongly on the personnel and the environmental conditions; this fact concerns the inspection of small com­ponents in production as well as the maintenance inspections of large industrial structures. The ­adequate interpretation of the measured values and the thorough coverage of the inspection area require a high degree of personal expertise. In addition, companies face considerable challenges with regard to documen­tation. Often, inspection reports are drawn up by hand and any peculiar observations are marked on the components themselves. A digital link between the specimen and the documentation is not established. If inspections take several hours or days, errors and incomplete documentation can occur, leading to negative consequences for subsequent processes.

To solve this topic, Fraunhofer IZFP has developed the optical tracking system “3D SmartInspect“, an assistance system for manual inspections based on cognitive signal evaluation.

Read more

Sensor System to Detect Cracks and Neckings in Formed Sheets

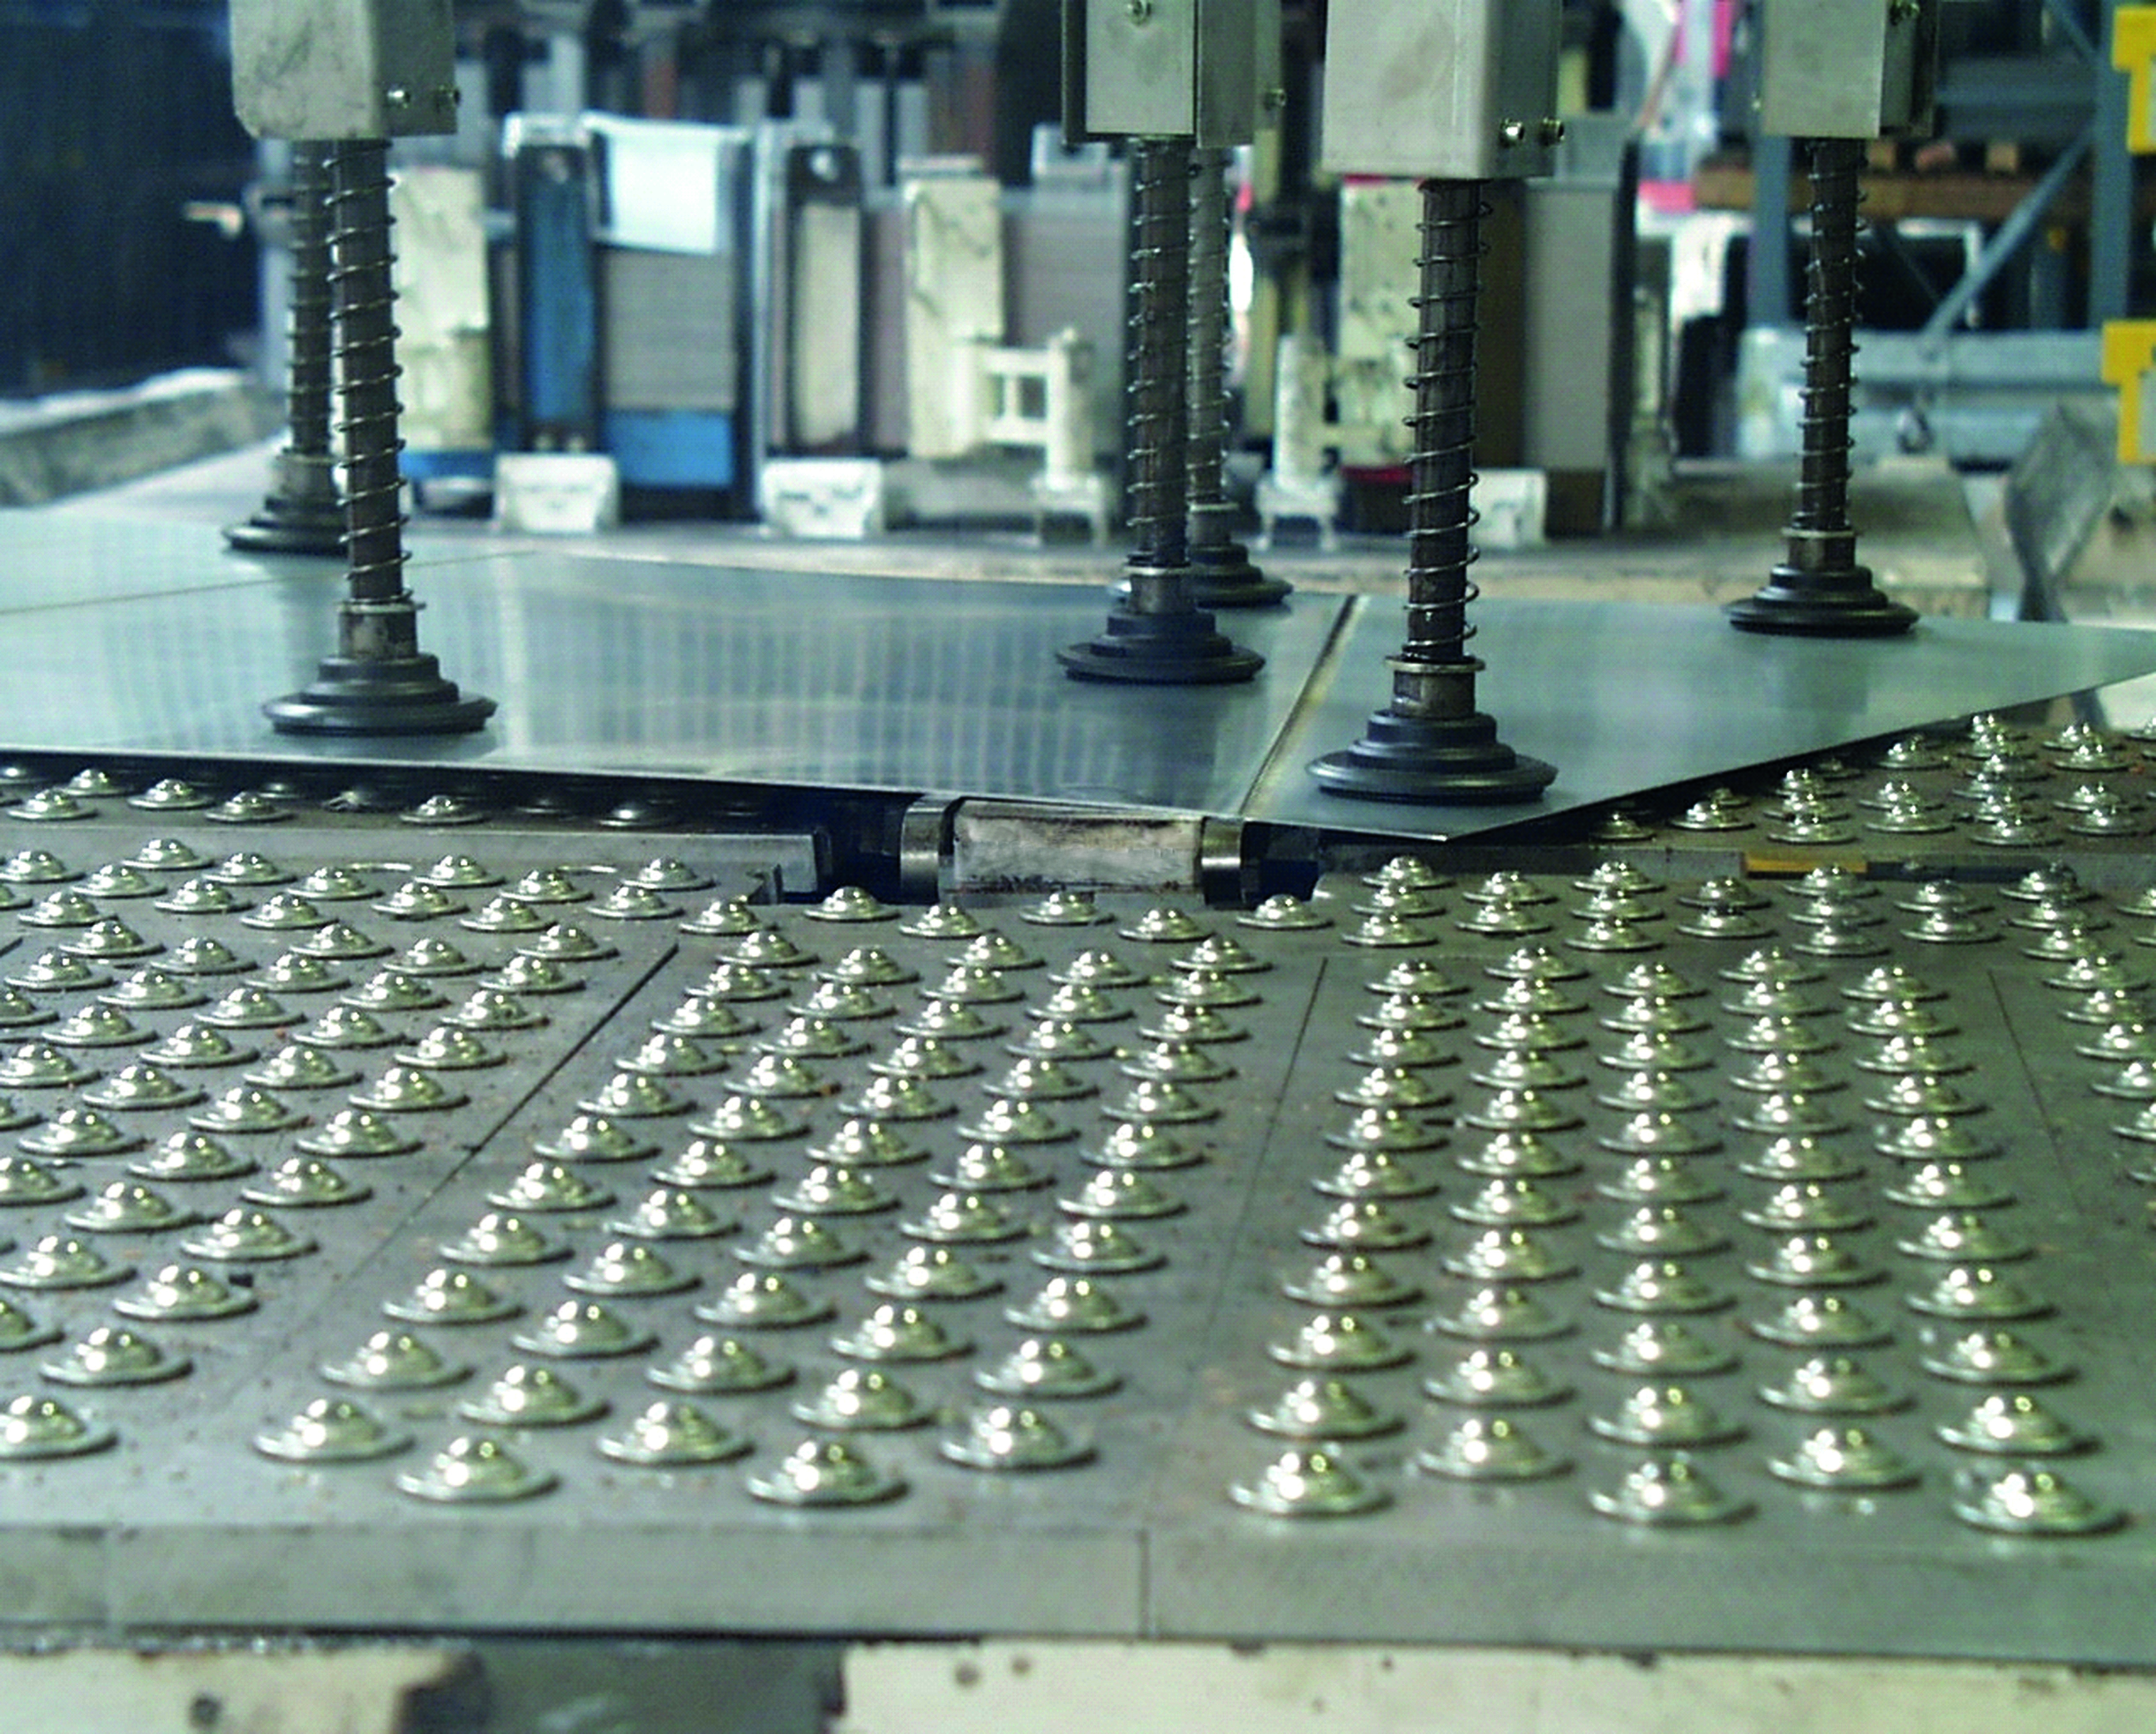
Tailored Blanks inspection with Fraunhofer IZFP´s EMAT sensor
© Fraunhofer IZFP
Tailored Blanks inspection with Fraunhofer IZFP´s EMAT sensor

Requirements on components and processes in the sheet metal forming sector are steadily rising. This applies in particular to the automotive industry as the largest manufacturer and buyer of formed sheet metal parts. Due to lightweight construction concepts, many forming processes are increasingly being pushed to their limits. Because of growing processing complexity, high forming degrees with ever smaller sheet thicknesses, batch fluctuations of the materials as well as uncertainties in the tool / machine system, it is unavoidable that these process limits are sporadically exceeded.


As a consequence of such influencing factors, forming-related component defects that are difficult to identify cannot be avoided completely. This includes cracked areas (cracks) in the sheet, but also local thinnings of the sheet thickness (neckings). While gaping cracks above a certain size can be reliably detected with optical methods, so far there was no method for the reliable detection of closed or small cracks and in particular of neckings.

A comparative study showed that the so-called EMAT inspection technique (electromagnetic acoustic transducer) is the most appropriate method for the production-integrated detection of cracks and neckings in sheet metal components. Ultrasonic probes based on EMAT can be used dry, i.e. without coupling agents and generally without contact.

Read more

UER III: System for Ultrasonic Stress Measurement in the Rim of Railroad Wheels

© Fraunhofer IZFP / Uwe Bellhäuser
UER III: System for ultrasonic stress measurement in the rim of railroad wheels

Fields of application: Heavy/operational maintenance

More than 20 years of experience in industrial application

Frontend solution to minimize electromagnetic interferences

Development and design of the mobile version in 2018

Comprehensive service and flexible technical support

Selection of long-term available hardware components

Compatible with modern IT infrastructure in workshop environment

Comfortable handling, easy to learn and reliable

Identical cross-platform inspection software for all variants

Flyer UER

Air-Coupled Ultrasound Inspection: Contactless and Contamination-Free Materials Characterization

© Fraunhofer IZFP / Uwe Bellhäuser
Air-coupled ultrasound inspection of advanced materials

The structural components used in modern automobiles and aircraft manufacturing are subject to stringent requirements, such as having a lightweight, yet mechanically robust design. Among other things, this ensures structures with improved crash behavior and excellent vibration and sound damping properties. Adhering to such demanding specifications requires the use of innovative materials like carbon or glass fiber reinforced polymer, high-strength steel and lightweight metals, which are often combined into hybrid components.

Read more

High-Frequency Ultrasonic Technology: Optimizing the Quality of Laser Welding Seams (Presshardened Steels)

© Fraunhofer IZFP
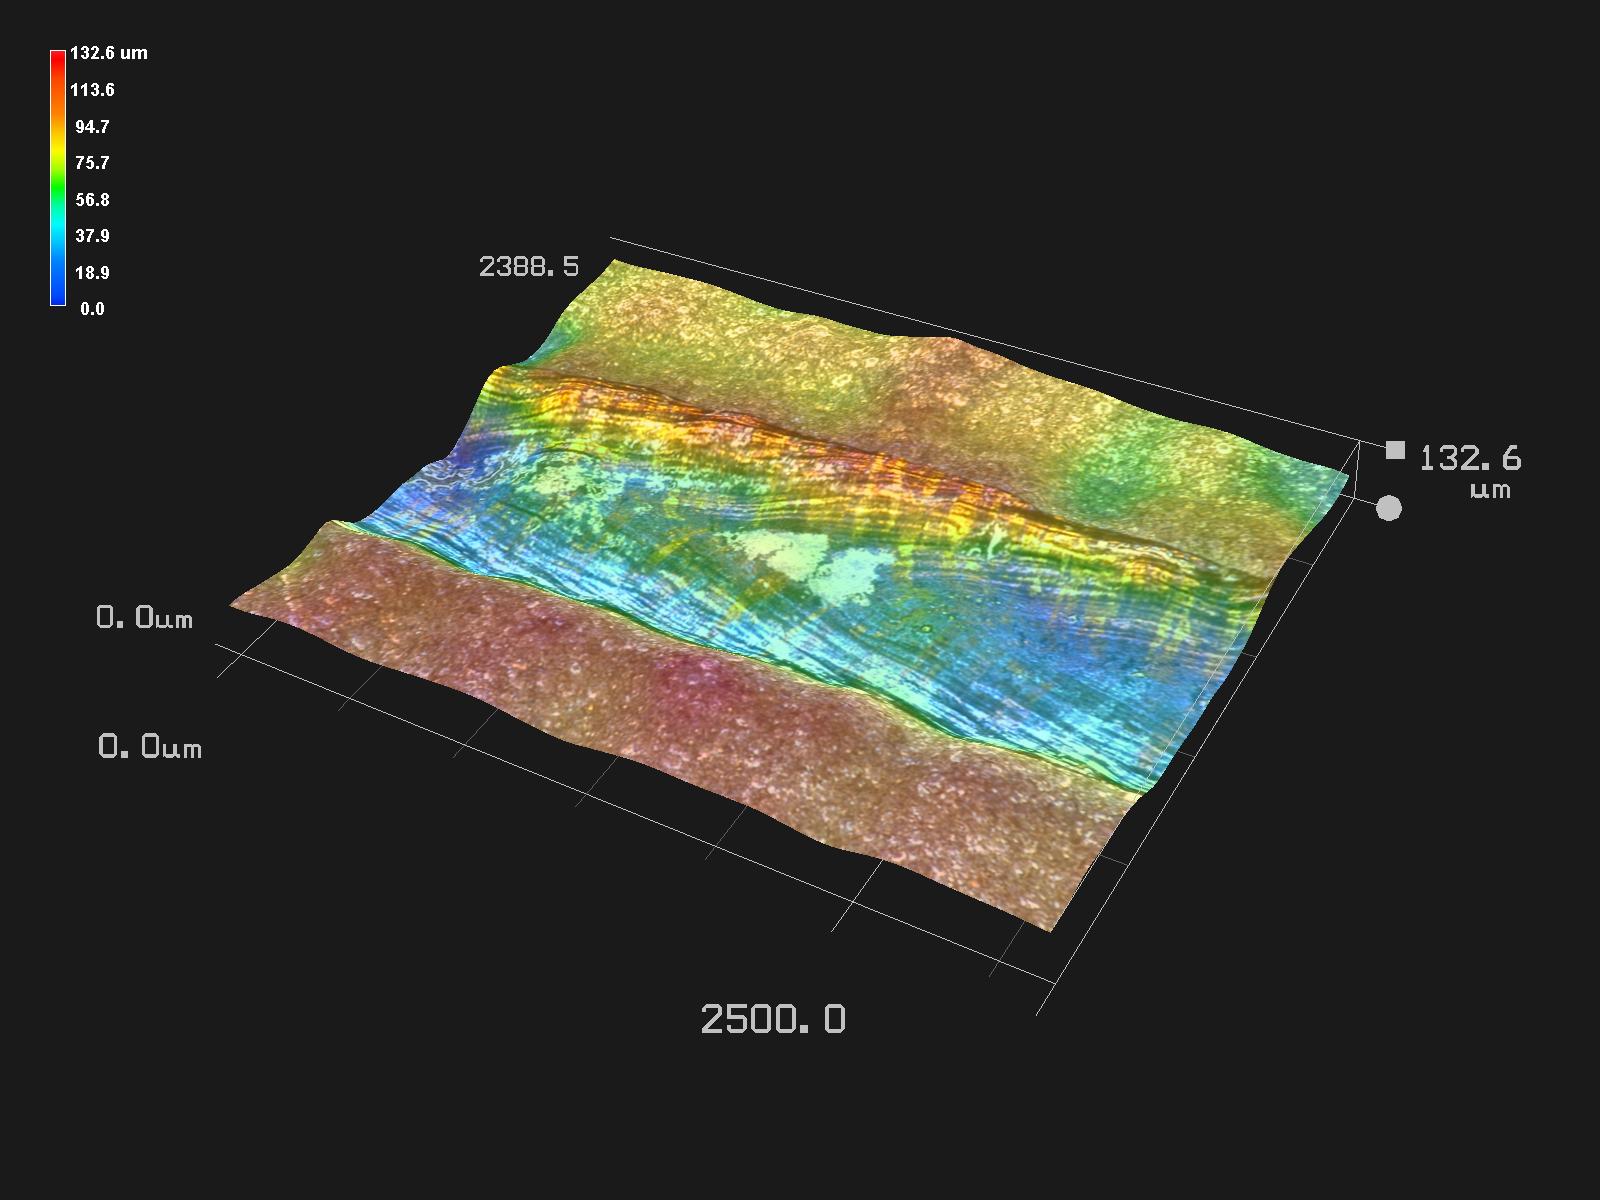
3d profile of a laser beam welding seam

Integration of the HF-ultrasonic inspection technology for a fast, efficient monitoring, documentation and optimization of the laser welding quality

Validation for determining all of the relevant quality characteristics (welding seam profile, existence and position of defects, etc.)

Detection of typical defects such as “false friends“, “seam collapse“ and “blow out“ as well as pores with a minimum diameter of approx. 0.2 millimeters

Read more

EMAT: Defect Inspection using Electromagnetic Ultrasound Technology

© tomas - Fotolia
Pipeline

Contactless ultrasound inspection without couplants

Real-time capable; can be automated for in-line inspections.

Industrial-scale, robust design leads to long service life without visible wear and tear

Cold and warm sheet metal forming (i.e. auto body parts)


Read more


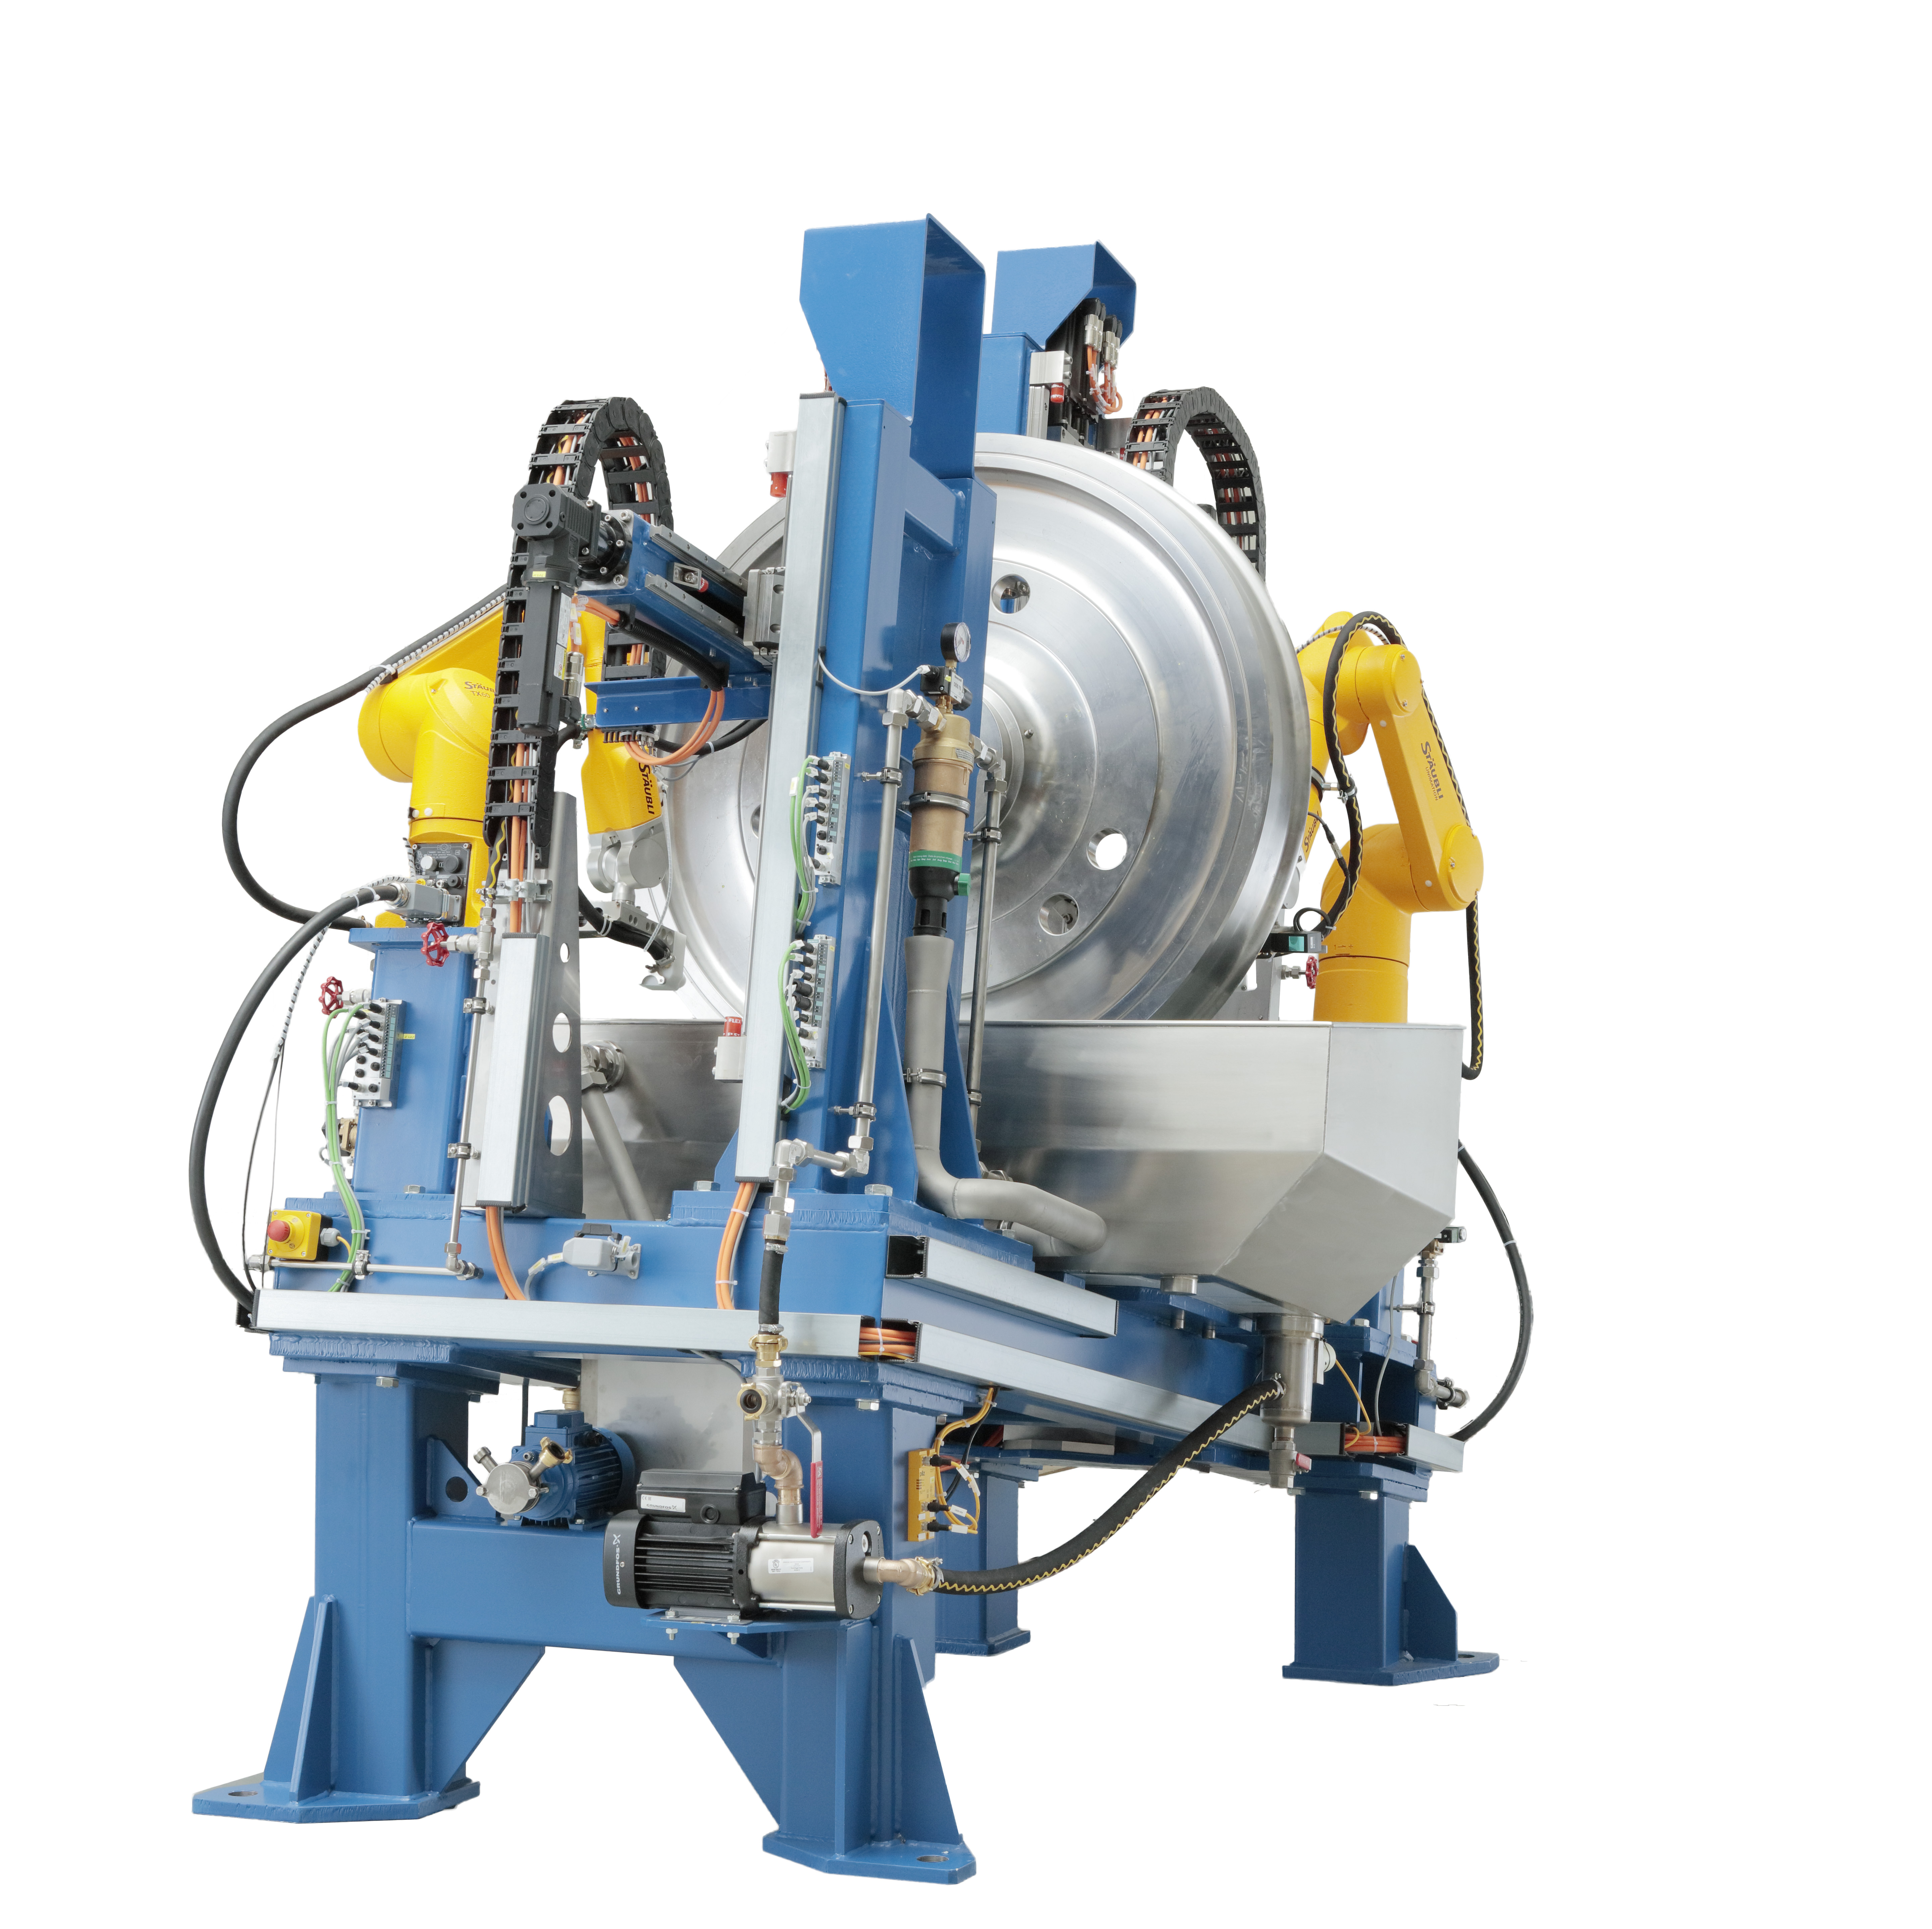
Hardware and Software Components of the Ultrasonic Inspection System RAWIS: Production-Integrated Inspection of Railroad Wheels

© Rosen Group
RAWIS Inspection System

High resolution at concurrently high inspection velocity by use of phased array technique and hardware-near data processing

Fully automated hundred percent inspection of wheel rim and wheel hub within a single turn of the wheel

Use of smart evaluation algorithms for automated assessment of the inspection results

Modular system design for use in maintenance inspections at low modification time and effort

Read more

Surface Hardening Depth (SHD): Nondestructive Inspection of Inductively Hardened Parts and Components Using Ultrasonic Backscattering

© Fraunhofer IZFP
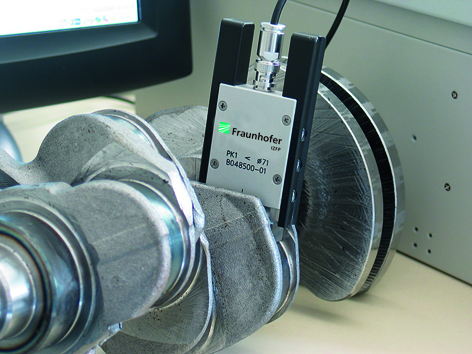
Crank shaft inspection using SHD sensor

Long-term experience with customized ultrasonic hardware and software

Fraunhofer IZFP designs and manufactures optimized ultrasonic electronics

Systems for automated and manual testing are available

No calibration of reference parts with defined hardness

Impartial, user-independent measurement technique

Read more