3MA Inspection Technique – Basics
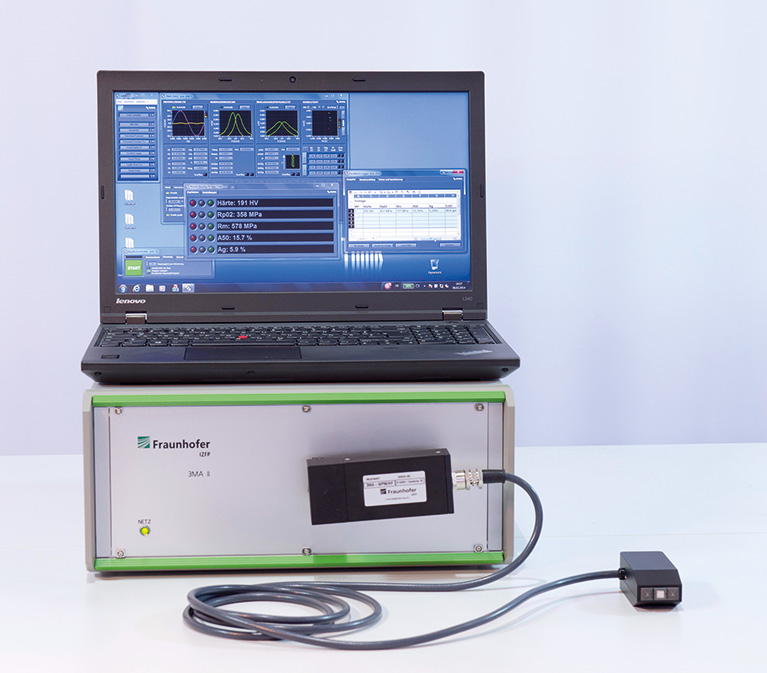
Components of mechanical, automotive and facility engineering are subject to thermal as well as mechanical treatment. The systematic maintenance of their boundary surface layer characteristics requires the application of adequate measurement techniques. 3MA (Micromagnetic Multiparameter, Microstructure and Stress Analysis) is a novel measurement technique to characterize boundary surface layers nondestructively. It can be performed fully automated and can be integrated into the manufacturing process. Its high inspection speed enables the 100 percent inspection for most applications. The procedure allows the fast and concurrent evaluation of several relevant quality characteristics of the surface layer (0 – 8 mm of the components depth).
3MA combines the four micromagnetic measurement procedures Barkhausen Noise, incremental permeability, harmonic analysis of the tangential magnetic field strength and multi-frequency eddy current analysis. Several inspection quantities are evaluated for every procedure, adding up to a total of 41 micromagnetic inspection quantities. The advantages of combining test statistics in a multiparameter procedure are manifold, especially if the target values and the disturbance variables are subject to concurrent variations. As the individual micromagnetic inspection quantities show differently weighted sensitivity with regard to target values and inspection quantities, the influence of disturbance variables can be eliminated or at least reduced.
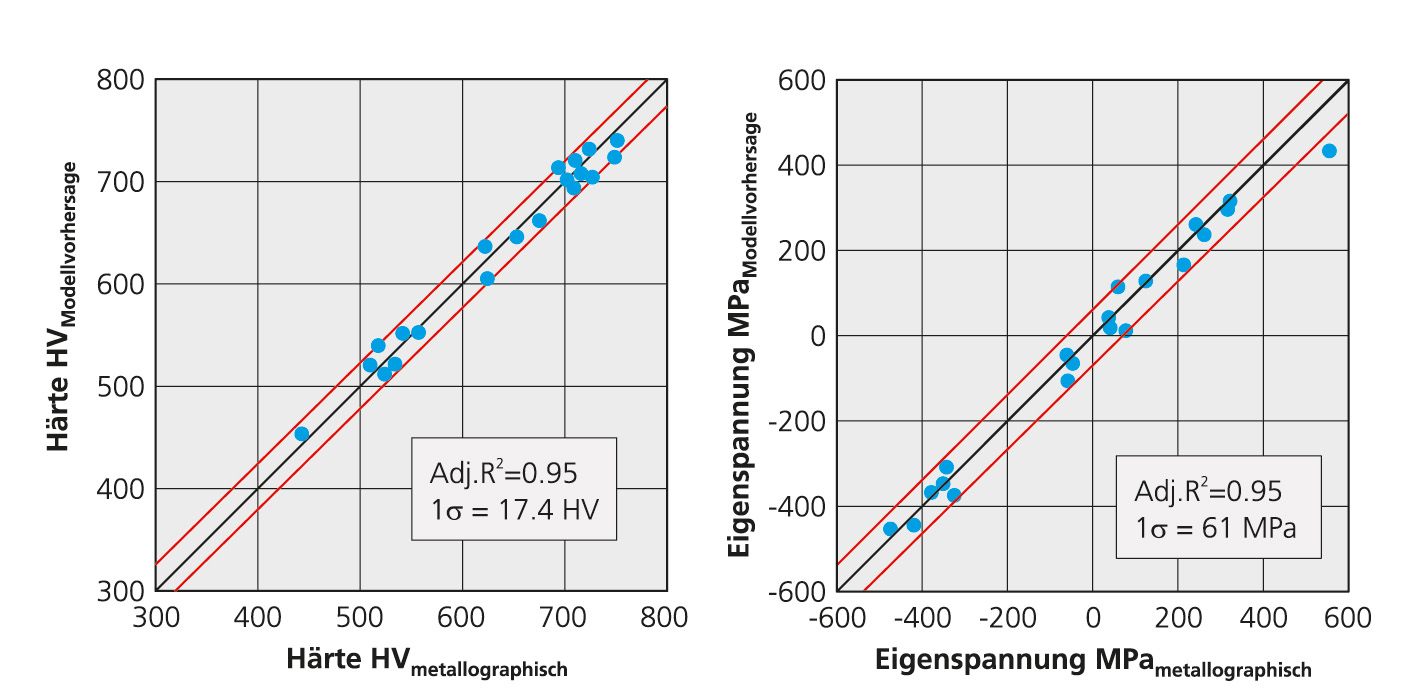
The sole prerequisite for this aside ferromagnetic – and thus magnetizable – material is a preceding calibration, whereby approximation functions are retrieved by means of multiple regression analysis or nearest neighbor pattern recognition that correlate the desired quality characteristics (target values) with the 3MA measurement parameters (inspection quantities).
Benefits
- Fast, nondestructive inspection
- Continuous monitoring and documentation of quality characteristics
- Substitutes destructive testing methods
- Cost-effective production due to reduced costs
- Complete and comprehensive process monitoring
- Customization according to special requirements (probe, software)
Applications
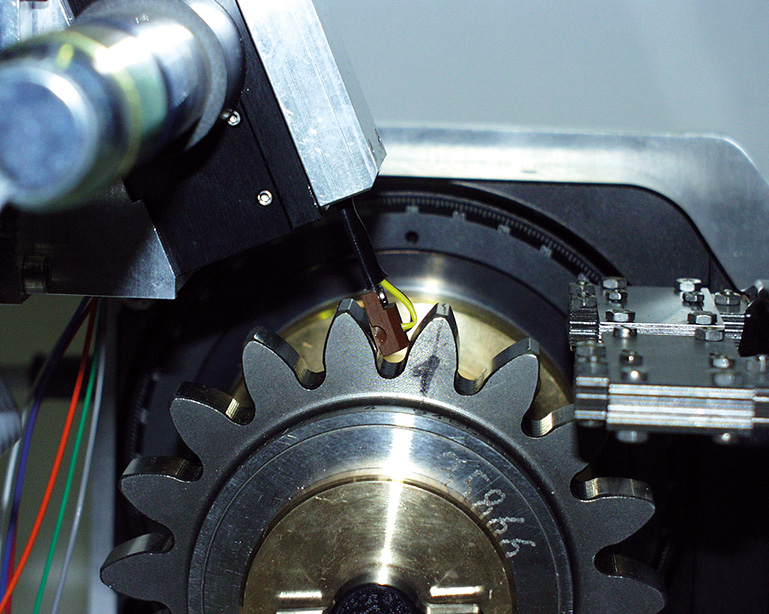
- Locally resolved determination of hardness, case depth and residual stress state after hardness machining → Detection and characterization of defects caused by the machining process
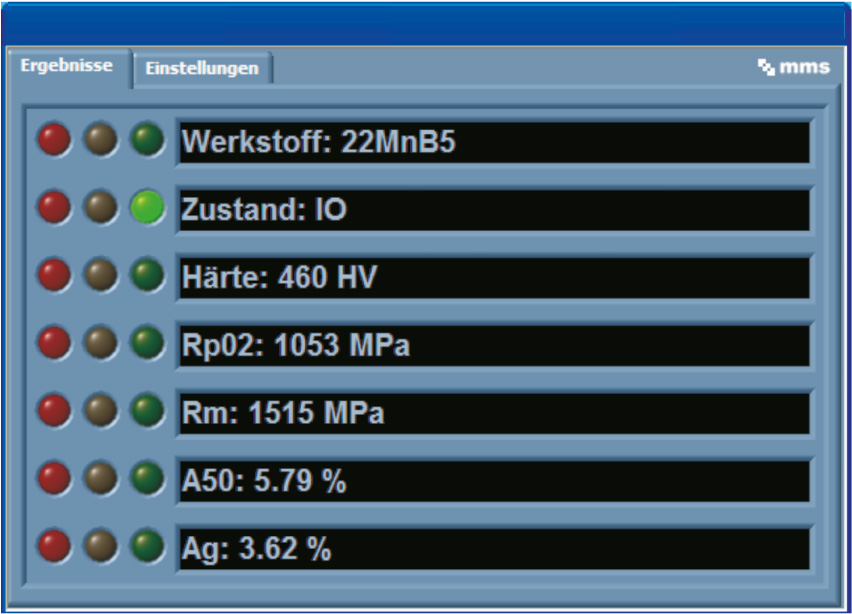
- Continuous monitoring of tensile strength, yield strength, etc. in steel strips and plates → 100 percent verification and documentation of steel quality
- Hardness and case depth of induction, laser and nitriding hardening → Reduced setup and change-overtime
- Deep drawing properties and residual stress states of steel sheets → Incoming components inspection for sheet metal forming
- Residual stress state determination at assembled components → Assembly inspection, compound strength
- Early detection of thermal deterioration, neutron embrittlement, fatigue, creep damage → Recurrent inspection of safety relevant components
 Fraunhofer Institute for Nondestructive Testing IZFP


