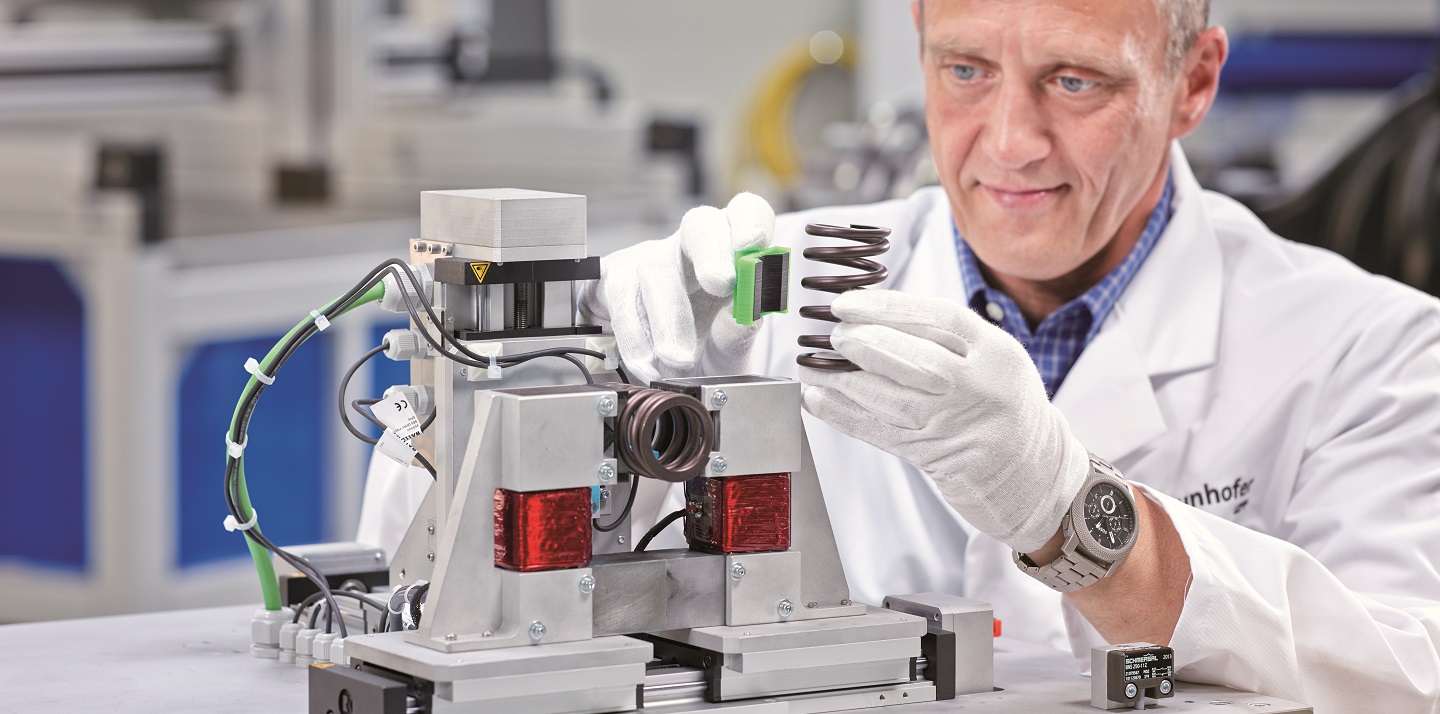
Nondestructive evaluation of hardness and residual stress depth profiles


In a car or truck valve springs are exposed to extreme conditions. Therefore, the requirements concerning the properties of the valve springs are challenging: both, the power tolerances as well as the relaxation tendency must be extremely low, and the fatigue strength should be sufficiently high.
In order to achieve and to ensure the best possible material properties and processing quality, in addition to modern manufacturing technologies the use of in-process quality assurance methods is crucial.
To assess the production quality, the mechanical and technological characteristics of the components must be randomly tested. To do so, depth profiles of hardness and residual stresses of a spring are sampled in regular intervals on the inner surface of the spring. In case of destructive, viz. conventional metallographic and X-ray methods, this examination is highly time-consuming and expensive, thus impeding the increase of productivity and economic feasibility.
The aforementioned destructive testing methods can be superseded by a fast and cost-efficient nondestructive testing prodedure, the so-called “3MA“ technique (micromagnetic multiparameter analysis of microstructure and stress).
As a combination of hardware and mature process engineering 3MA comprises four micromagnetic testing methods:
- multi-frequency eddy current,
- analysis of upper harmonics,
- incremental permeability,
- Barkhausen noise.
Advantages
- Determination of various relevant quality characteristics of a material – e. g. hardness and residual stresses in different measuring depths – without destroying the specimen.
- Integration of the valve spring into the test system, then the test process is fully automatic. The valve spring is gradually rotated while its inner surface is scanned by sensors. The scanning of a spring coil takes less than a minute measuring time. A similar destructive test would take several hours.
To use 3MA a previous calibration is required. Based on a multiple regression analysis approximation functions are determined that link the desirable quality characteristics with measuring parameters (inspection quantities), e. g. hardness and residual stress. For each measuring depth and each target quantity a specific evaluation function is stored in the processor of the evaluation software.
For the calibration components are taken from current production. Additionally, specific process samples are produced. This set of calibration samples covers the entire range of target quantities to be tested, as well as the expected range of variation of various disturbance variables (such as geometry or material batch).
After the calibration, the 3MA inspection system is ready for use. In case of a new application of 3MA, it is advisable to perform a validation.
Flyer “3MA Valve Spring Inspection“
 Fraunhofer Institute for Nondestructive Testing IZFP