

Modern high-performance materials such as light metals or fiber-reinforced plastics require reliable quality assurance. The recurring inspection of safety-relevant systems and components is also crucial. Thus, the need for nondestructive inspection techniques enabling the fast and reliable inline characterization of these materials (100 percent testing) is steadily rising. At the same time, these techniques are to be mobile and flexible enough for periodic in situ inspection. To meet these requirements, inspection techniques that enable fast, automated inspection even of components with complex shapes are particularly in demand.
In recent years, active thermal testing techniques have been pushed to maturity for industrial-grade inspection systems in series production. While providing high inspection speed, they can be used for virtually any components, even those with complex geometries, and in many cases also for the noncontact characterization of materials and coatings.
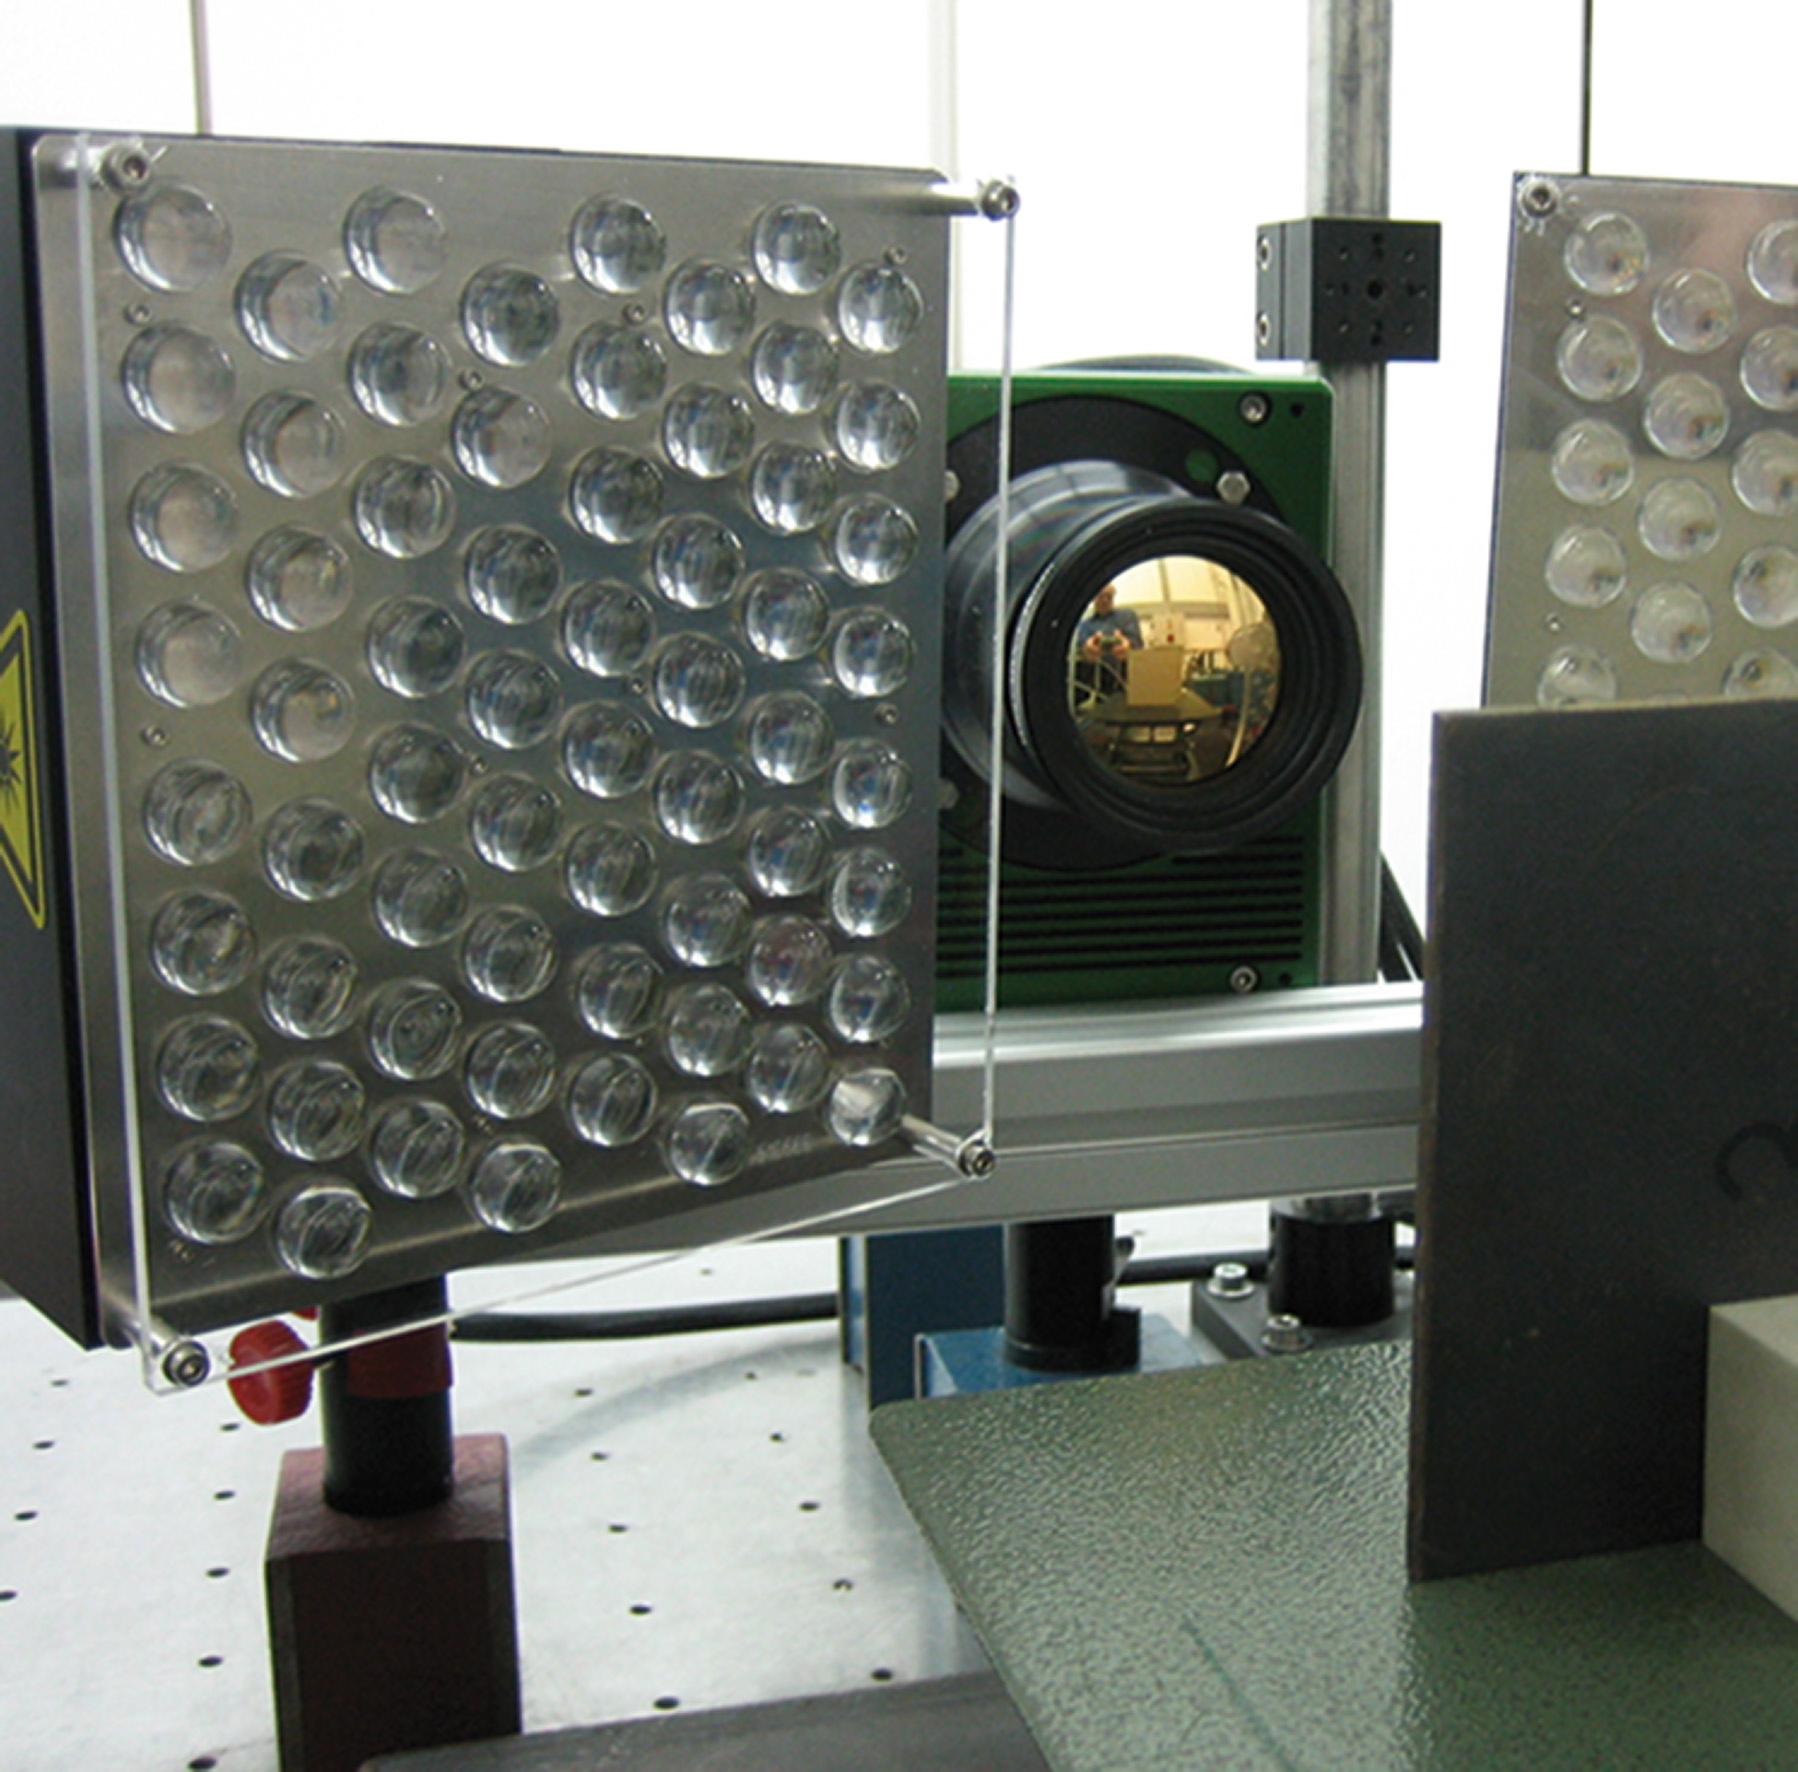
At Fraunhofer IZFP, different variants of thermal testing techniques have been developed that use different physical principles for energy input (heating) and different evaluation methods. An infrared camera is used to observe the temporal change in temperature distribution on the surface of the test object (active dynamic thermography). The reflection or transmission of the generated transient heat flows provides the desired information. The heating can be either pulsed (pulse thermography) or periodic (lock-in thermography). Available variants include:
- Light excitation by light flash, LED arrays, lasers, etc.
- Ultrasonic excitation
- Inductive excitation in case of electrically conductive materials
- Excitation by microwaves
- Excitation by hot or cold air
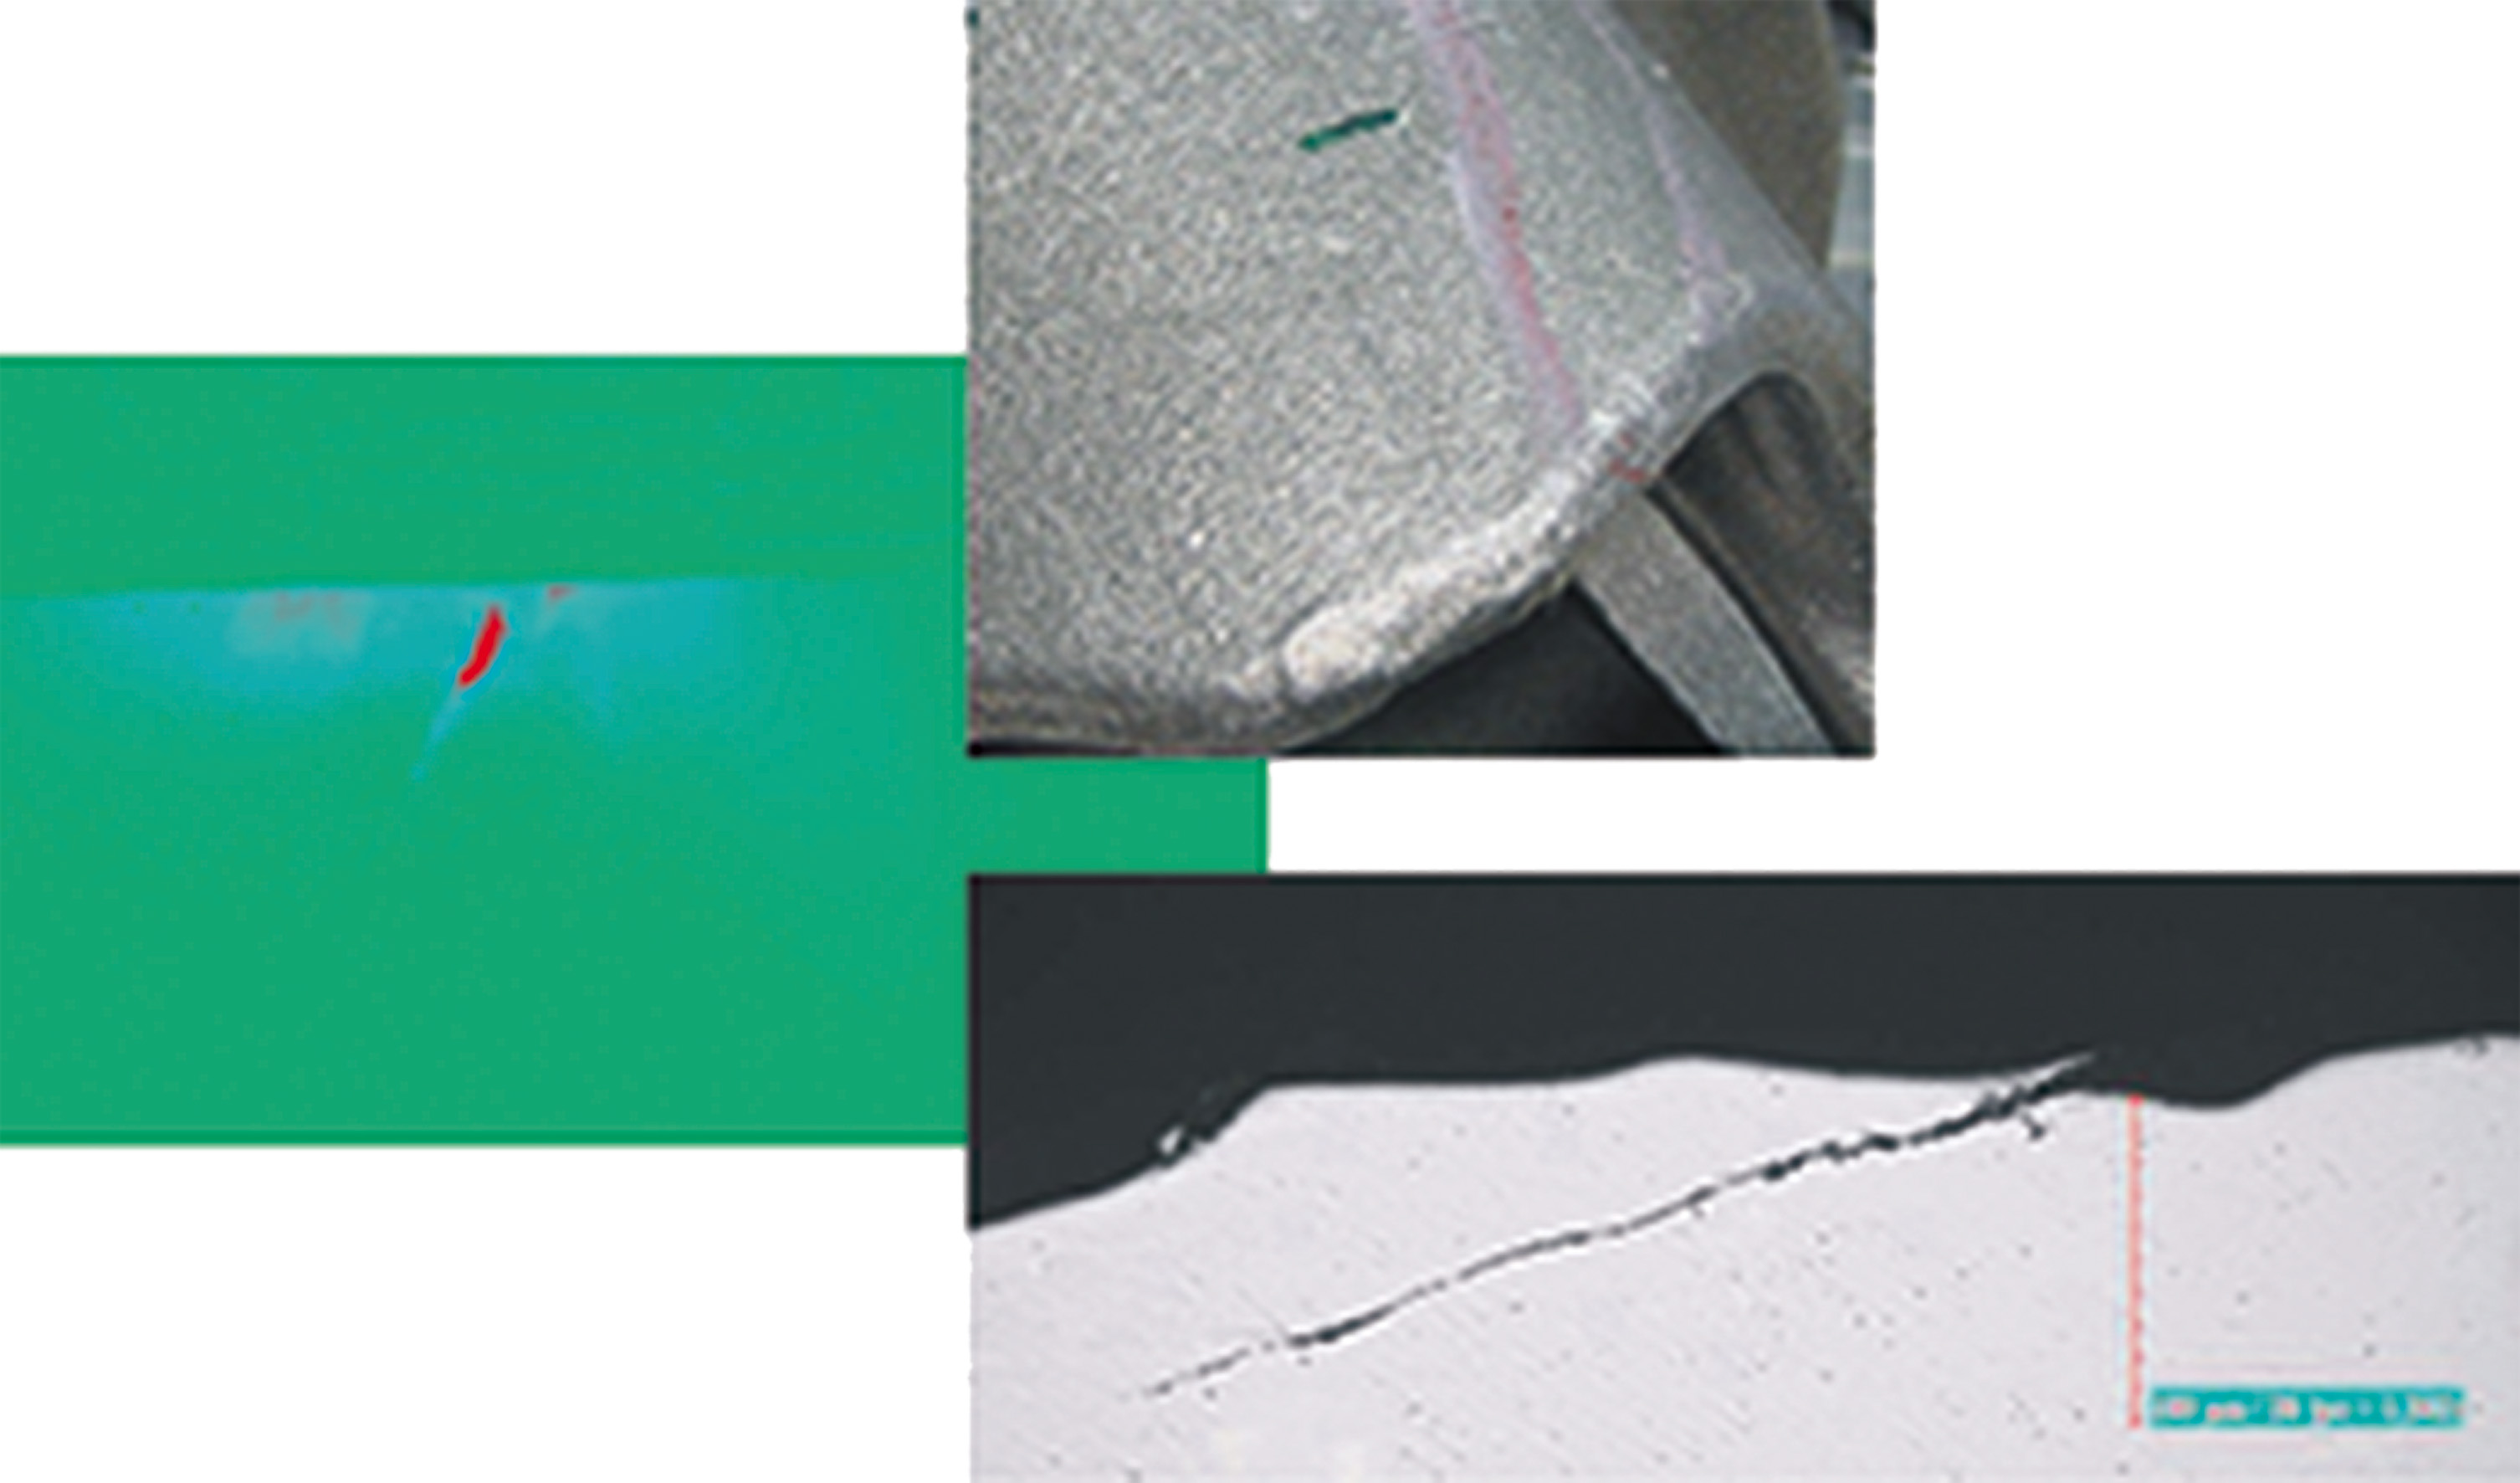
Evaluation techniques such as pulse-phase or lock-in analysis process the image sequences and reduce or suppress interference effects. They enable precise statements to be made about defect depths or the quantitative mapping of the layer thickness distribution on the component. They also support automated defect detection and data compression techniques as a prerequisite for the inspection of mass-produced parts with inspection cycle rates of a few seconds. Reconstruction techniques for determining the defect geometries from the thermography data are available.
Fraunhofer IZFP has portable and stationary infrared cameras at its disposal in near-wave, medium-wave and long-wave infrared as well as dual-band with temperature resolutions of down to 15 mK and frame rates up to 20 kHz (partial image). Lenses ranging from macro to wide-angle as well as telephoto lenses for large inspection distances are available. Software specifically designed for dynamic thermography is steadily enhanced. Feasibility studies can be carried out and prototypes can be tested in a full-size application facility.
Benefits
- Fast planar inspection with optional fully automated defect detection
- Contact-free
- Curved object surfaces
- For all material groups
- Highly automatable
- No need for test media and chemicals
Applications
- Layer thickness measurements of finishes or of ceramic coatings, layer adhesion
- Detection of micro-defects in film compounds
- Hidden defects in compound materials
- Detection of surface defects in forged parts as an alternative to magnetic particle inspection
- Inspection of moving long products made from steel
- Recognition of unwished exogenous phases in casted steel
- Crack detection in ceramics
- Material identification and oppression of emissivity influences by spectral resolution
Flyer Noncontact imaging inspection using thermal techniques
 Fraunhofer Institute for Nondestructive Testing IZFP

