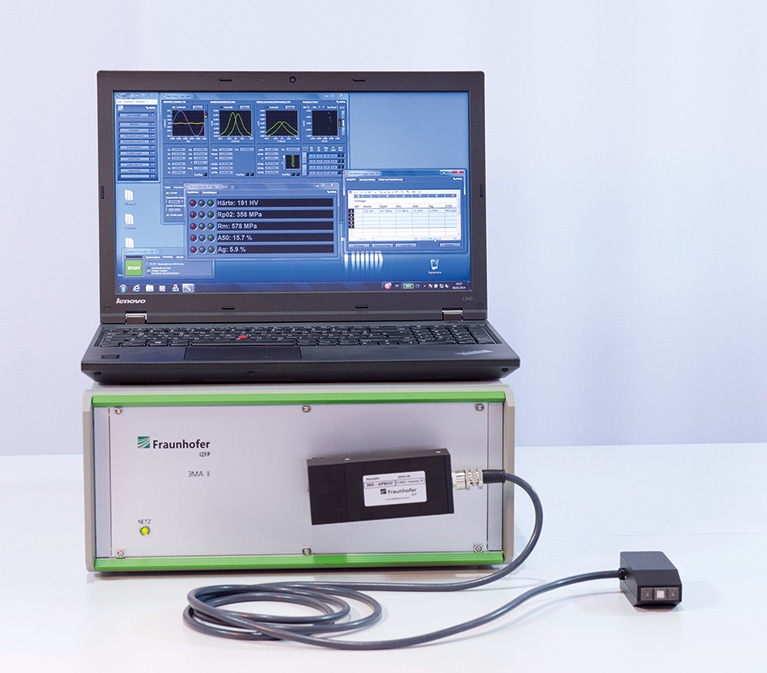
Nondestructive inspection of presshardened body parts using 3MA
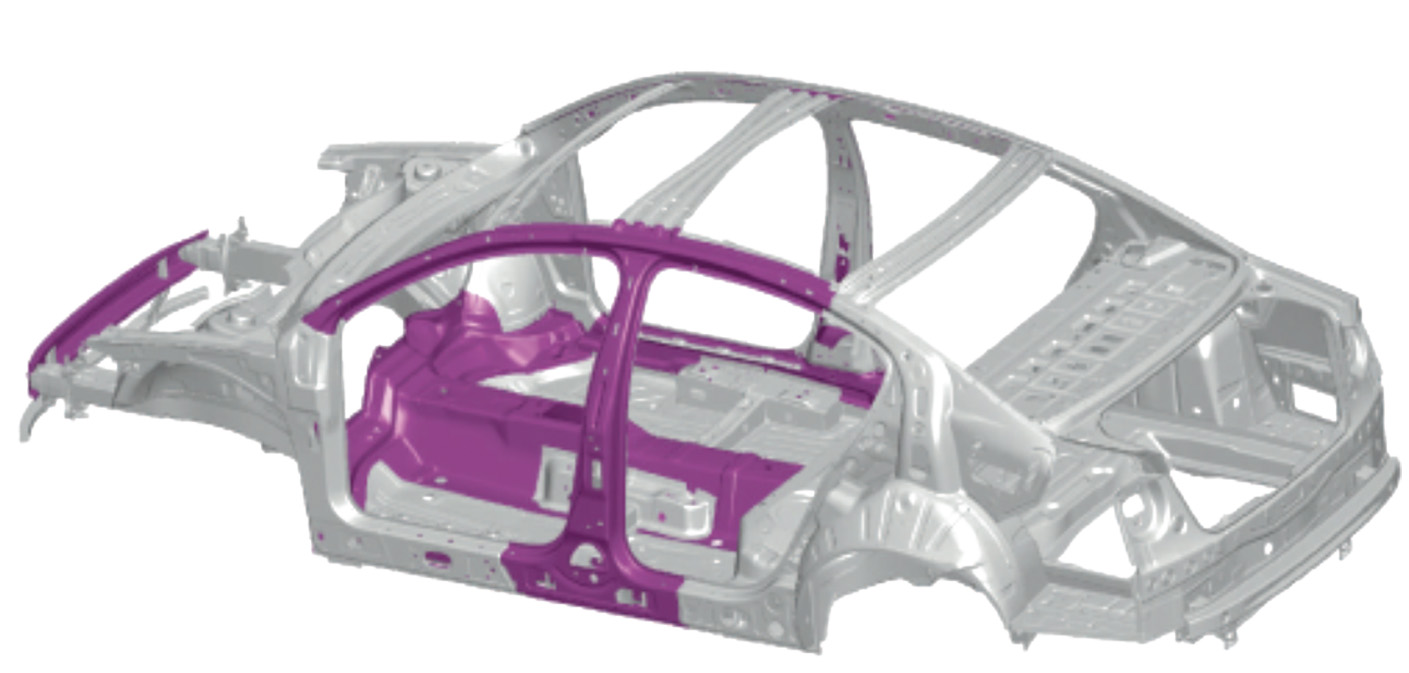
Reinforcement elements of the body are made of high-strength steels. This allows to minimize the vehicle weight and with it the fuel consumption while ensuring a maximum of crash-safety of the passenger cabin. To manufacture these components, producers and suppliers in the automotive industry increasingly rely on the so-called press-hardening, as it is particularly resource-friendly and cost-effective.
In this process, the plates to be formed are heated in a continuous furnace to approximately 950 °C. By a transfer tool (e. g. a robot) the then glowing red sheets are placed in a press, in which a special, water-cooled tool is installed. While the press is closing, the material is transformed by the tool. Simultaneously, within a few seconds, the plate is deprived of its heat. The rapid cooling results in a martensitic microstructure in the steel, which ensures high strength and hardness of the material.
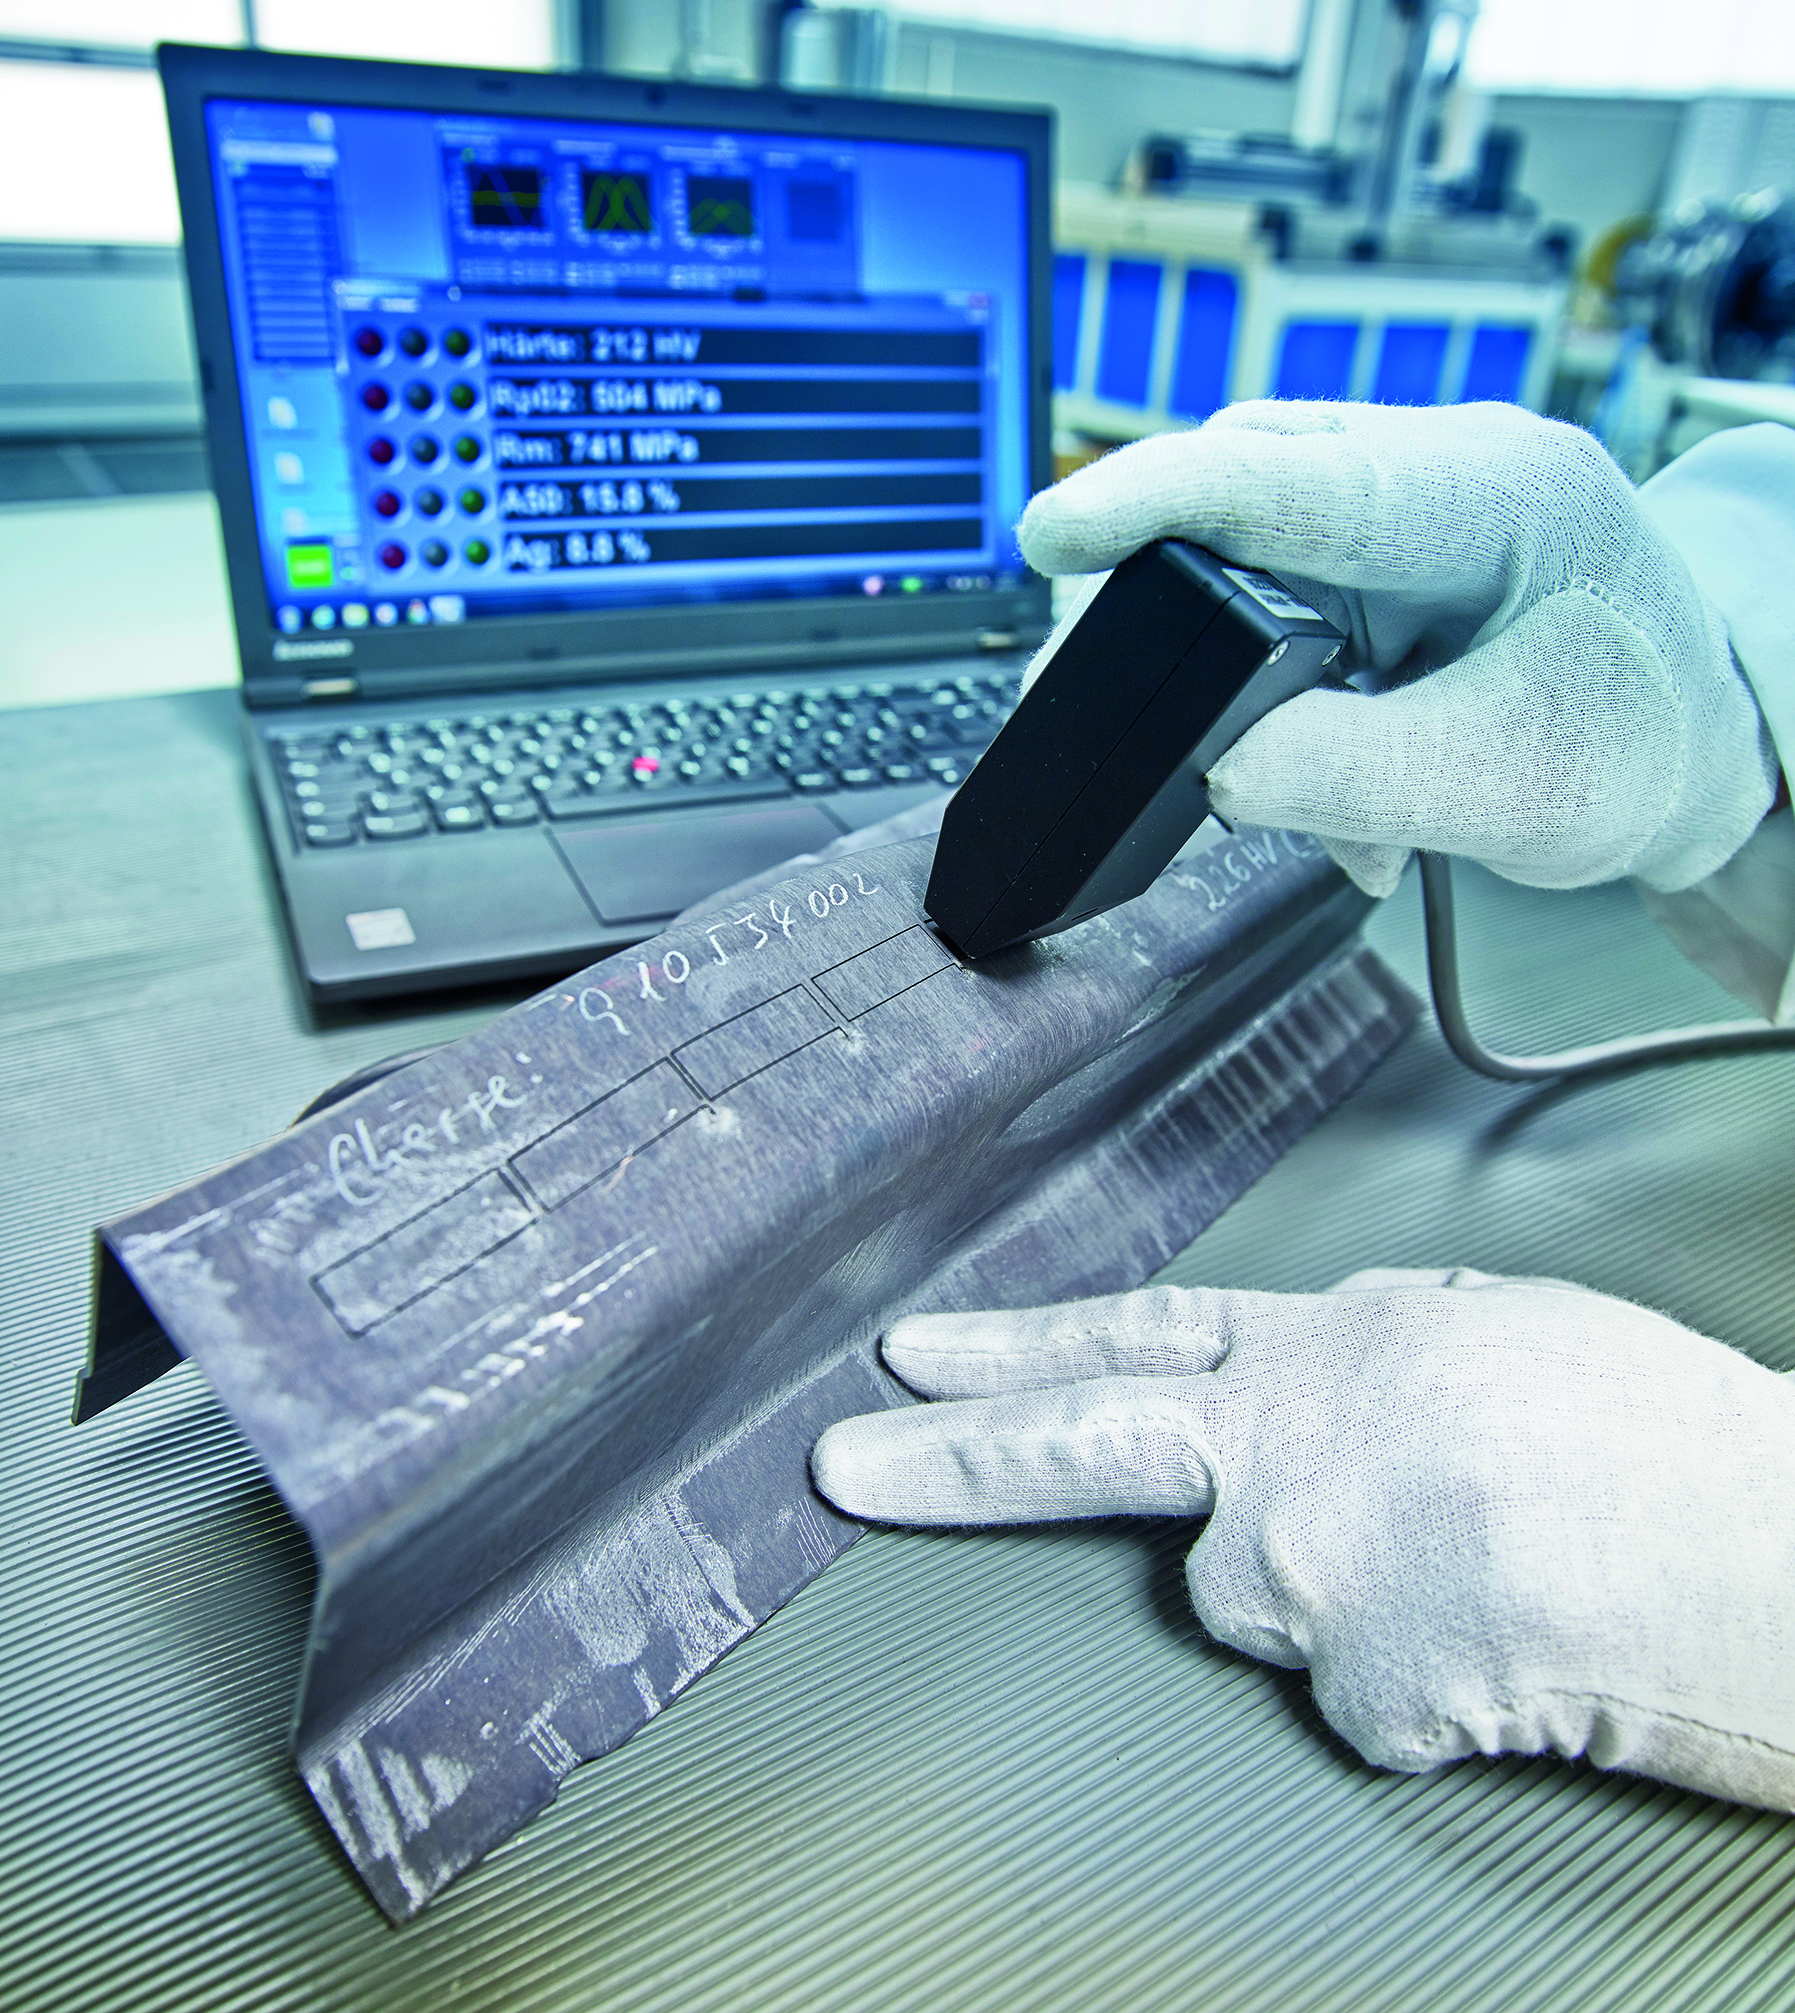
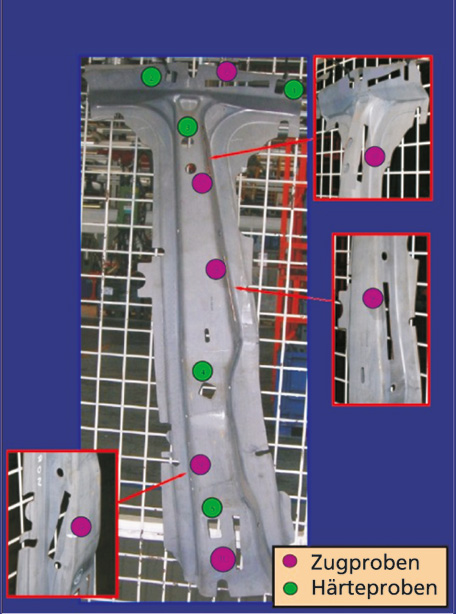
To assess the manufacturing quality, the components are randomly tested with regard to their mechanical and technological characteristics. To evaluate the production quality hardness (HV10), tensile strength (Rm), yield strength (Rp0.2), breaking strain (A50) and uniform strain (AG) of the samples are determined. These destructive tests are time-consuming and expensive.
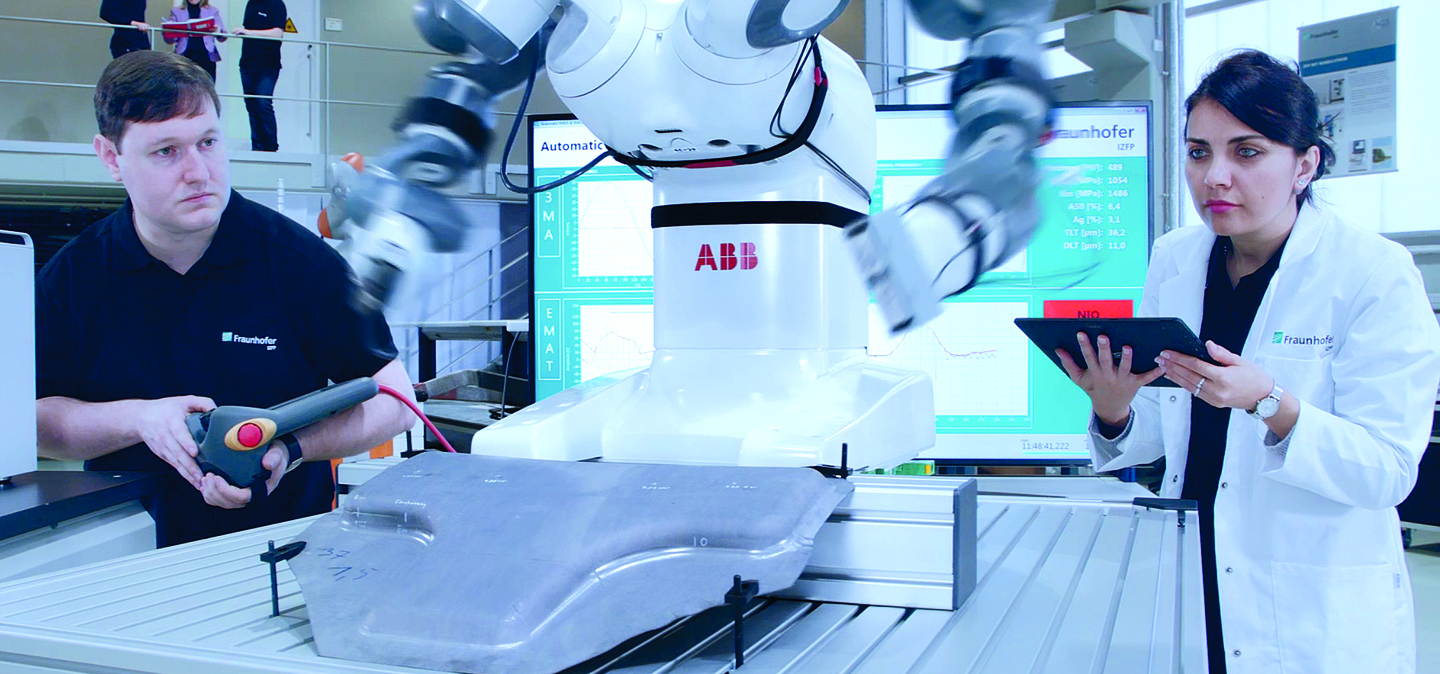
The 3MA (Micromagnetic Multiparameter Microstructure and Stress Analysis) inspection technique as a faster and cost-efficient nondestructive inspection technology allows to simultaneously determinate various relevant quality features of the materials, e. g. hardness or the variables of the tensile test. It is fully automated and can also be integrated into the production process.
The use of 3MA requires a previous calibration. Based on a multiple regression analysis approximating functions are determined that relate the targeted quality features to the 3MA measures.
To perform the calibration components were taken from the production line and, in addition, special procedure samples were prepared. In this way a set of calibration samples was created which covers the entire range of targeted variables but also the expected variation range of various disturbances (e. g. temperature, thickness, material batch). After calibration the 3MA inspection technique was validated for this special application.
 Fraunhofer Institute for Nondestructive Testing IZFP